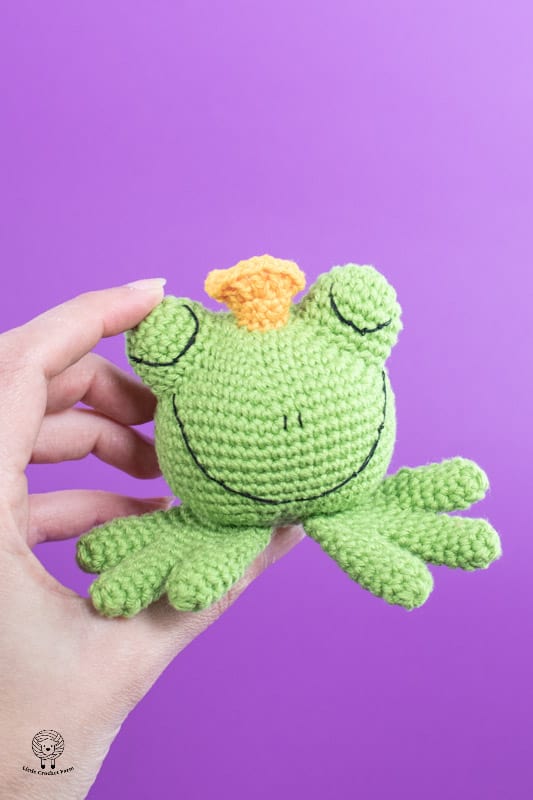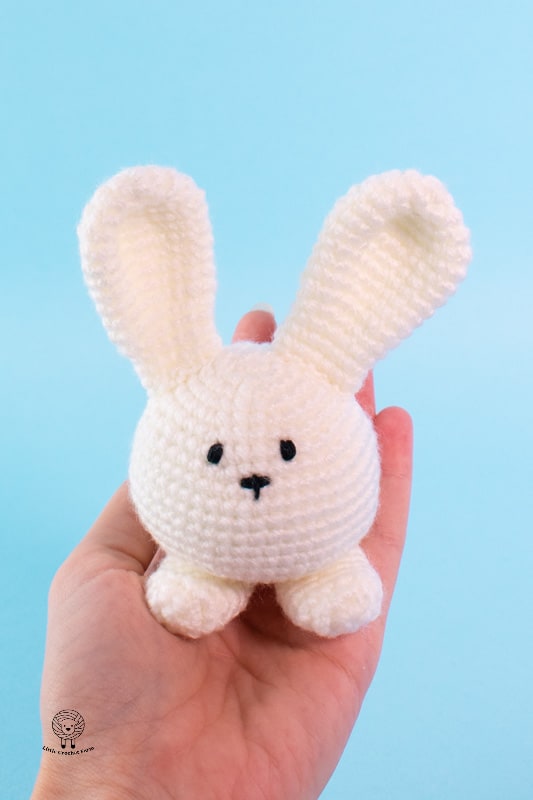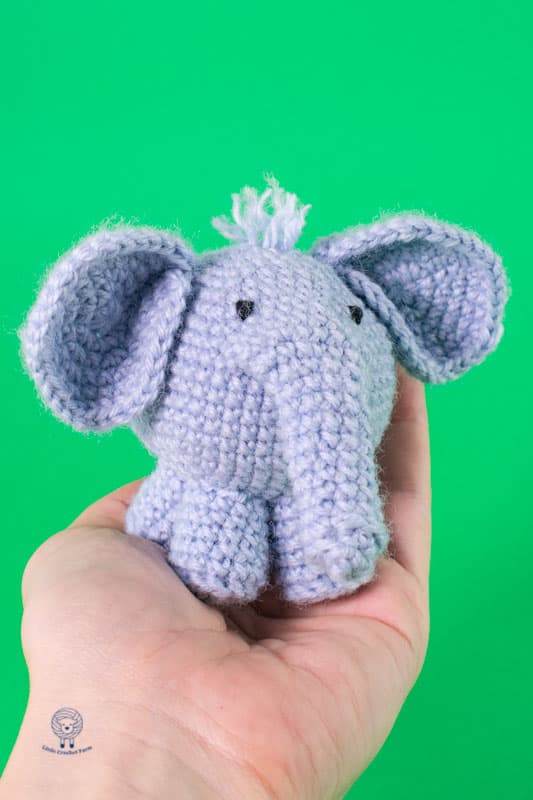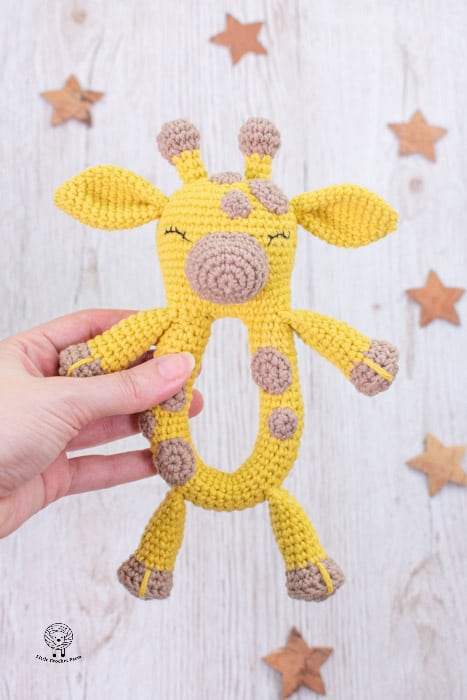
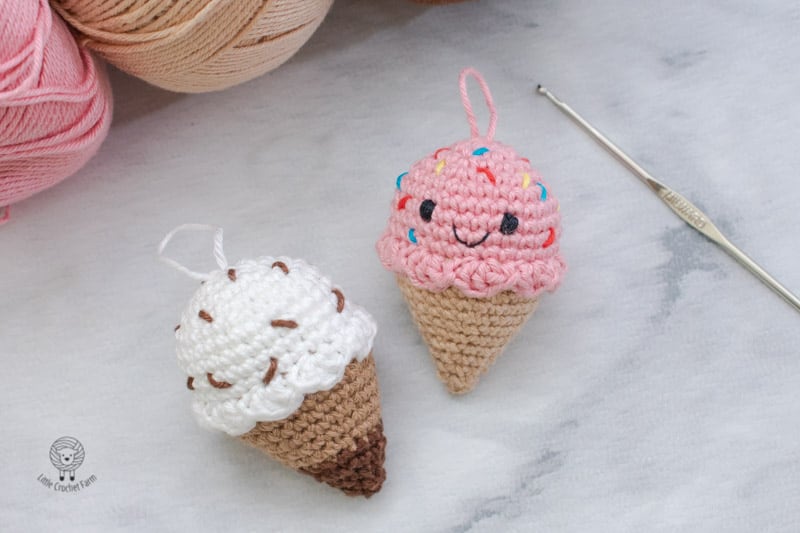
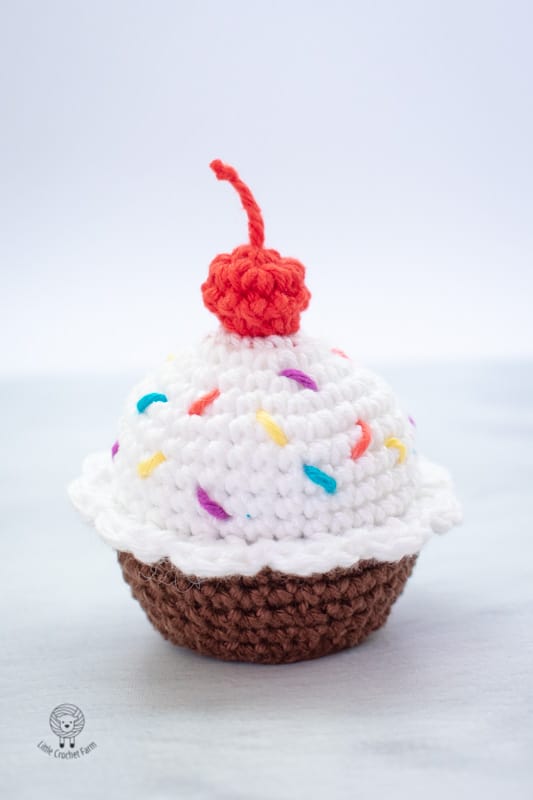
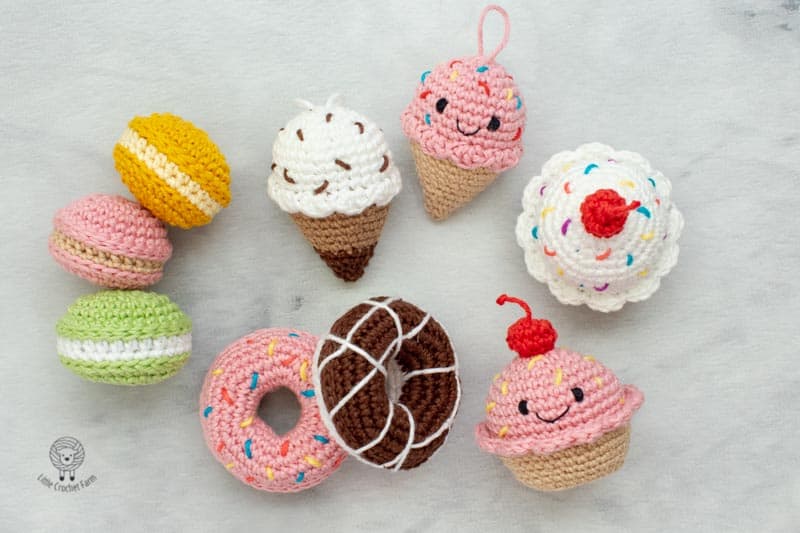
Searching for a no-sew amigurumi pattern, a fast crochet project, or maybe just a cute kawaii amigurumi?! This is the place for you! Have you seen the Ice cream cone before? It makes a great set with the Cupcake!
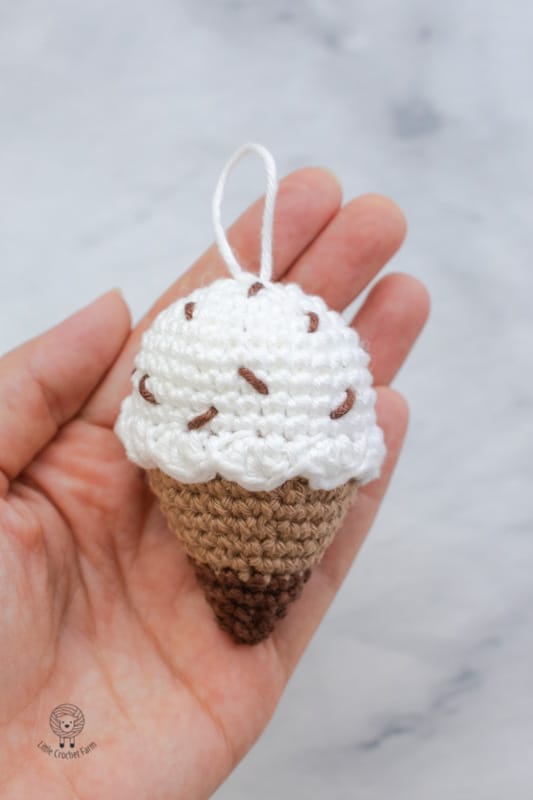
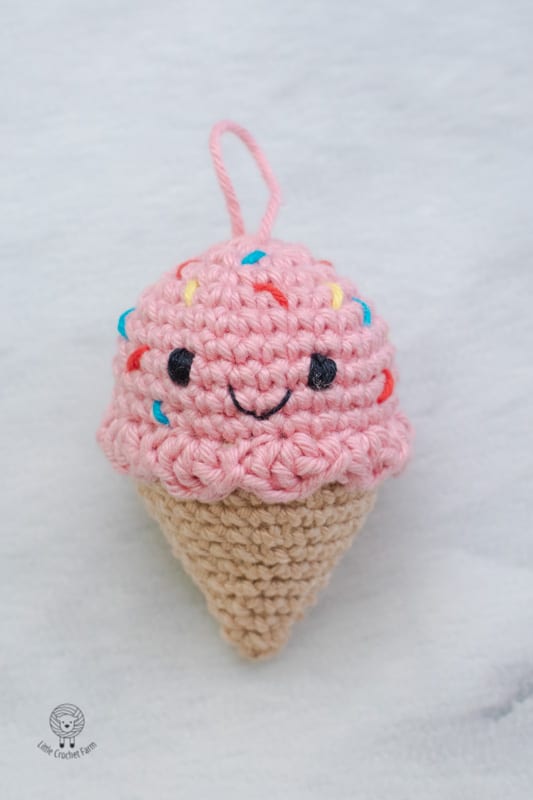
Today I share this mini Ice cream cone amigurumi free pattern! The best part, no need for sewing!
Hello there! My name is Ana! Welcome to Little crochet farm.
Here, I share my crochet creations, nursery décor, amigurumi, and, crochet toys for babies! Crochet tutorials, lessons, paid and free patterns you can find it all here!
If you wish for an ad-free printable version of this pattern, you can find it in Ravelry here!
And on Etsy here!
If you like video patterns, check out other options on my YouTube channel. There are a couple of crochet toys and stitch tutorials for amigurumi. I am updating every week with new creations there! Subscribe and leave me a thumbs up! It would make me super happy!
Take a look at other quick amigurumi free patterns
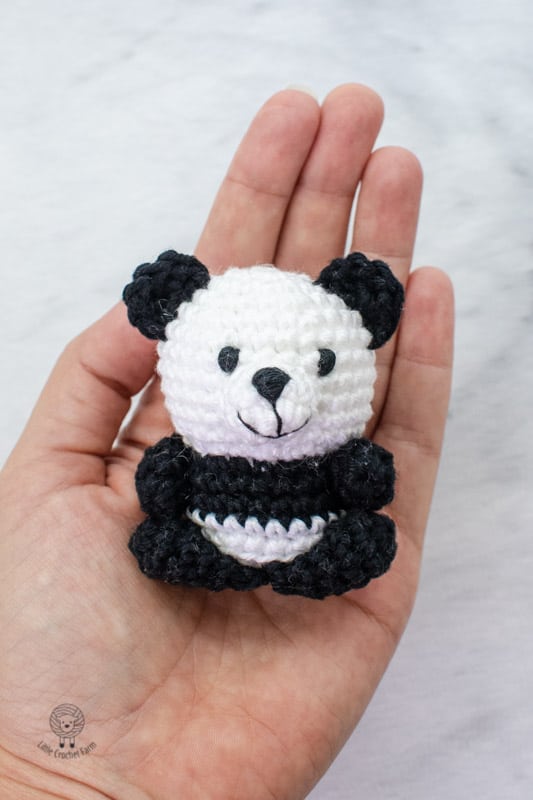
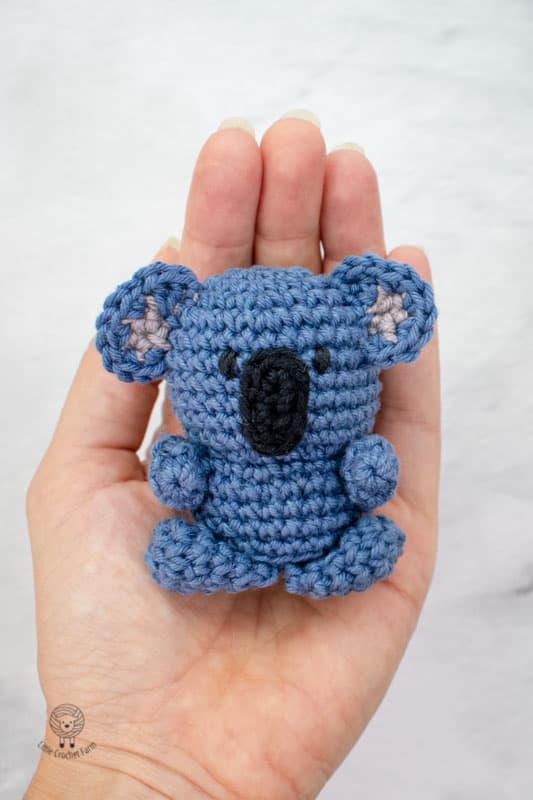
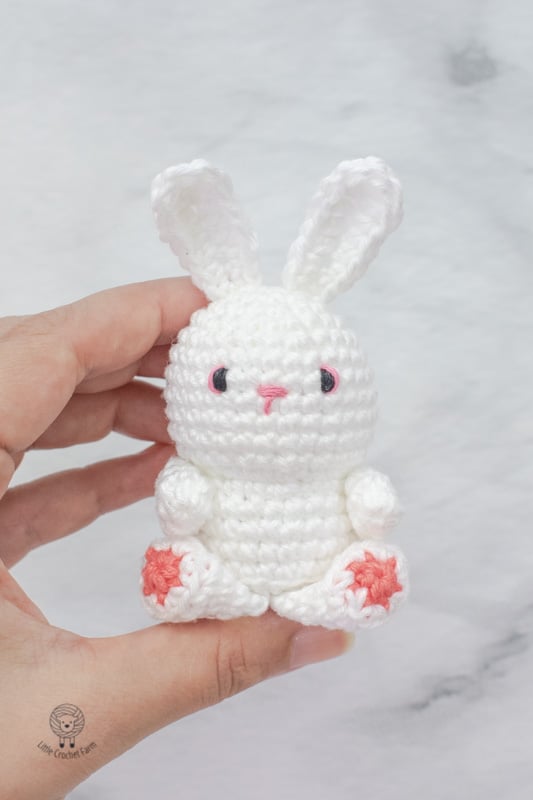
Before we start, I leave a link to all the stitches tutorial I used to complete this pattern. If you are a complete beginner or not familiar with some technique, there is a blog post with step-by-step images with descriptions and video tutorials.
Pin it for later!!!
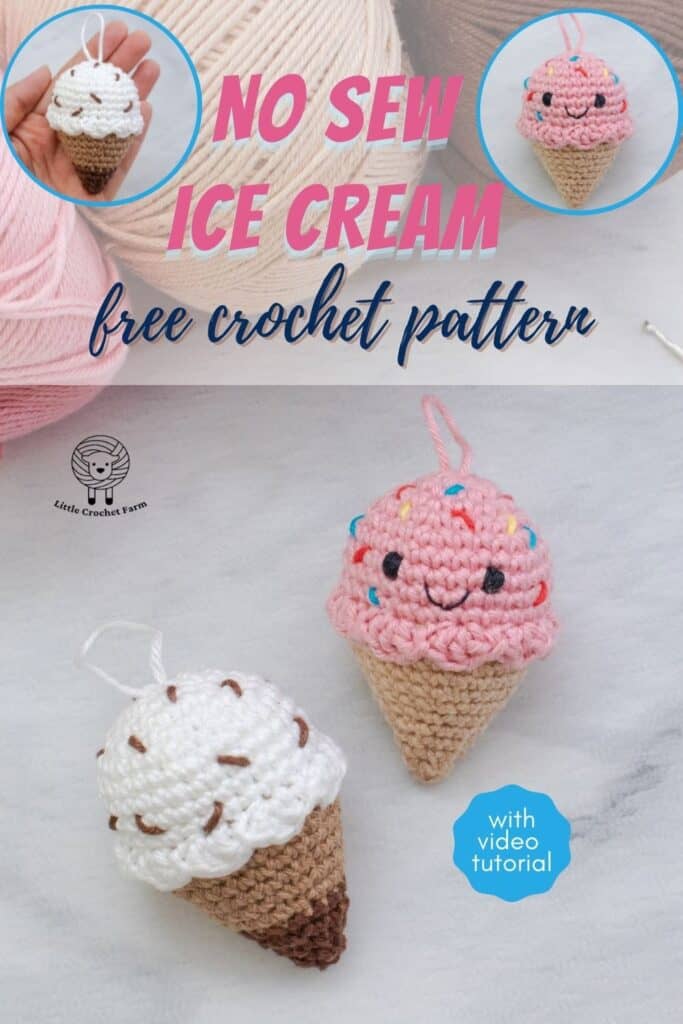
No-sew Ice cream cone free amigurumi pattern
Materials:
- 2mm crochet hook
- Sports 100% cotton yarn in 2 different colors. The brand used for this toy is a local brand that I purchase in the shop nearby. For similar yarn with the same quality and thickness I recommend this one, which I also use for many of my toys.
- Black thread for embroidering the eyes.
- Stuffing material
- Scissors
- Sewing needle.
- Or, you can use safety eyes! The position is at the end of this post.
Finish size: 7cm or (about) 2,6 inches
For a low cost, ad-free and printable pattern, you can find it in Ravelry here!
And on Etsy here!
Terms and abbreviations (US terms):
Single crochet (sc): insert the hook into the stitch, pull up a loop yarn over the needle, you will have two loops on the hook, yarn over the needle, and pull it through the two loops.
Increase (inc): make two single crochet inside the same stitch.
Decrease (dec): Insert hook into front loop only of next two stitches, yarn under, pull through, you will have two loops on the hook. Yarn under and pull through both loops on the hook.
Back loop Slip stitch (blsl): Insert hook into the back loop only of the stitch, yarn under, pull through both stitch and loop on hook.
More from this collection:
ICE CREAM
With white yarn start,
1 rnd 6sc in a magic ring
2 rnd 6inc Total 12sts
3 rnd (1sc, 1inc) repeat 6 times Total 18sts
4 rnd (2sc, 1inc) repeat 6 times Total 24sts
5 rnd (3sc, 1inc) repeat 6 times Total 30sts
6 to 9 rnd 30sc
• For the next round you will work only in the front loop of the stitch.
10 rnd FL(sk1, 3dc in the same st, 1sl) repeat 10 times
• Change to dark beige yarn,
CONE
• For the next round you will work in the remaining back loop from round 9.
11 rnd 30BLsc
12 rnd 30sc
13 rnd (8sc, 1dec) repeat 3 times Total 27sts
14 rnd 27sc
15 rnd (7sc, 1dec) repeat 3 times Total 24sts
16 rnd (6sc, 1dec) repeat 3 times Total 21sts
17 rnd (5sc, 1dec) repeat 3 times Total 18sts
18 rnd (4sc, 1dec) repeat 3 times Total 15sts
• Stop here to add stuffing material.
19 rnd (3sc, 1dec) repeat 3 times Total 12sts
20 rnd (2sc, 1dec) repeat 3 times Total 9sts
21 rnd (1sc, 1dec) repeat 3 times Total 6sts
• Cut the yarn and fasten off.
FINAL DETAILS
- With a different color yarn, add a couple of sprinkles on top of the ice cream.
- If you want to add eyes and mouth, place them at round 7 with 6 stitches between them
- Embroider the mouth in round 8 of the ice cream taking the length of 3 stitches.
Congratulations!!!
Your Ice cream cone amigurumi is ready!
I hope you enjoy this pattern! If you have any questions or comments, leave them in the comment box below.
If this mini Ice cream cone crochet pattern was clear and useful to you, consider subscribing to my YouTube channel. I schedule to add every week a new free pattern and a new stitch tutorial to help you learn a bit more about this crochet toys world!
I also will share here my Ravelry shop where you can find a bit more advanced crochet patterns. And, on Ravelry, there is available a low-cost printable version of these free patterns you can see here.
See you next time!
Love,
Ana
You may also like: