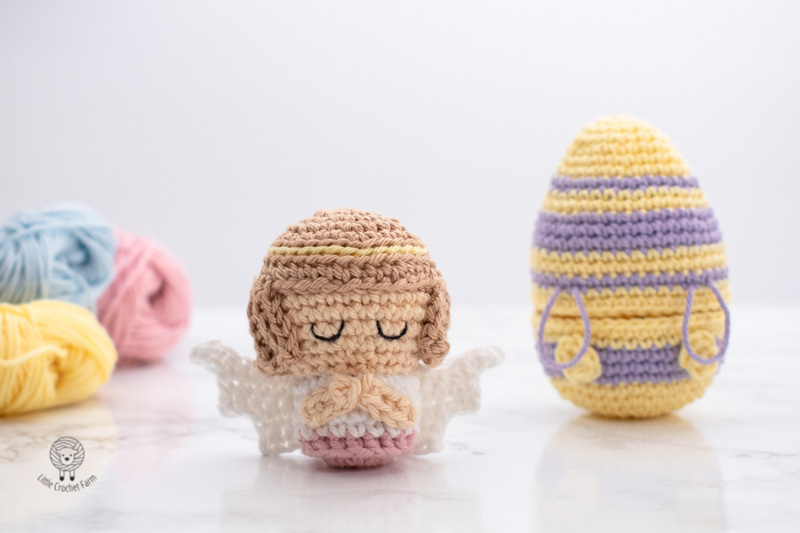
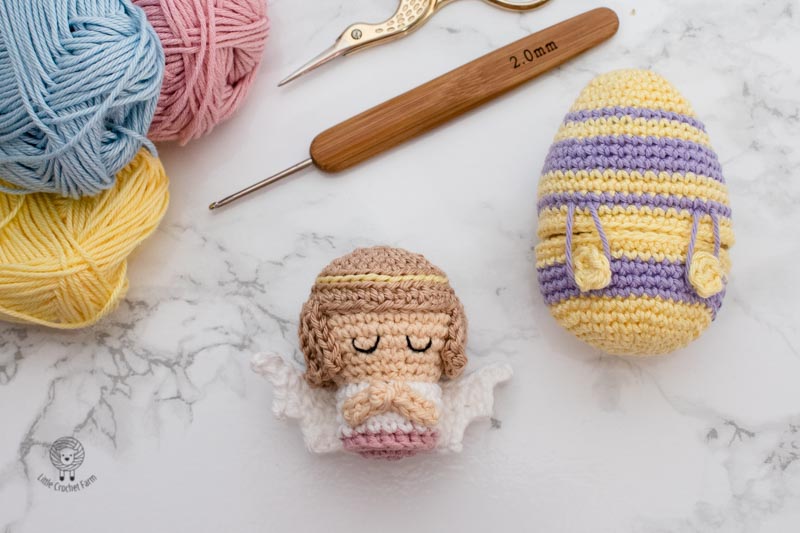
Adorable little amigurumi Angel, one more pattern from the Easter Collection! For this collection, there are four surprise amigurumi patterns inside a cute Easter egg! Let’s crochet this cute little Angel!!!
Big fan of Mini amigurumi? Then, here is a place for you!
Or just a fast crochet project, or maybe just a cute kawaii amigurumi?! I got you!
Hello there! My name is Ana! Welcome to Little crochet farm.
Here, I share my crochet creations, nursery décor, amigurumi, and, crochet toys for babies! Crochet tutorials, lessons, paid and free patterns you can find it all here!
If you wish for an ad-free printable version of this pattern, you can find it in Ravelry here!
And on Etsy here!
If you like video patterns, check out other options on my YouTube channel. There are a couple of crochet toys and stitch tutorials for amigurumi. I am updating every week with new creations there! Subscribe and leave me a thumbs up! It would make me super happy!
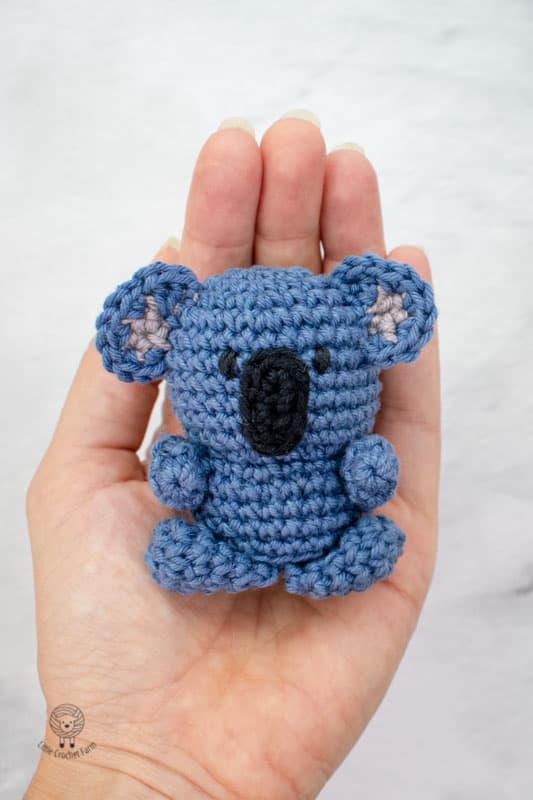
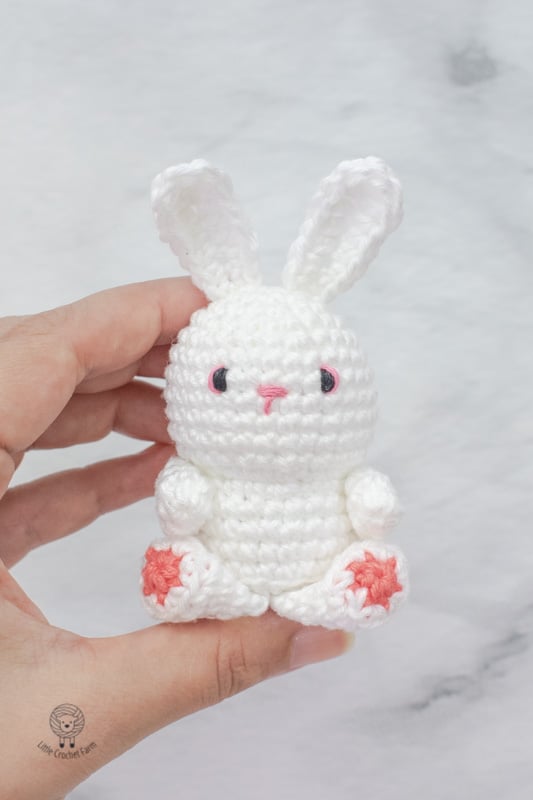
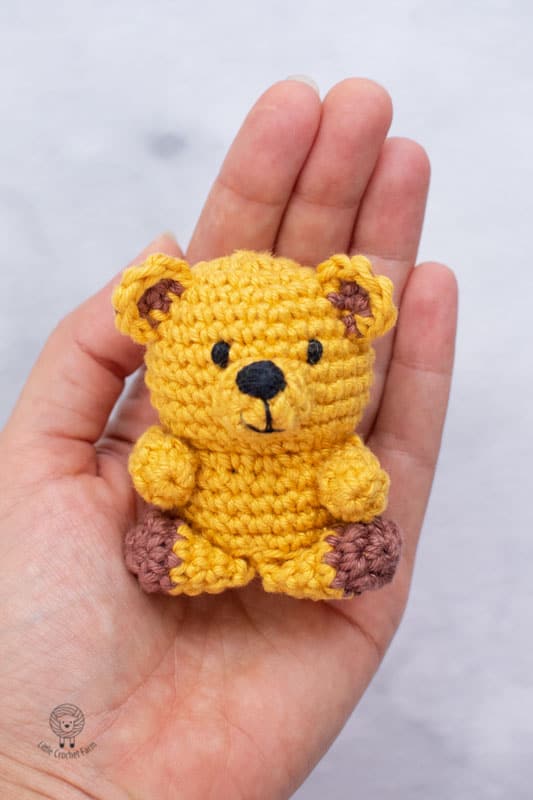
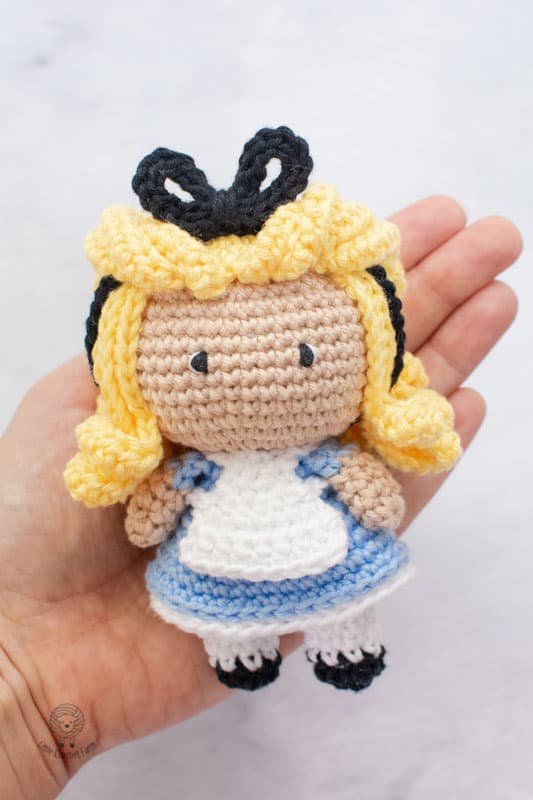
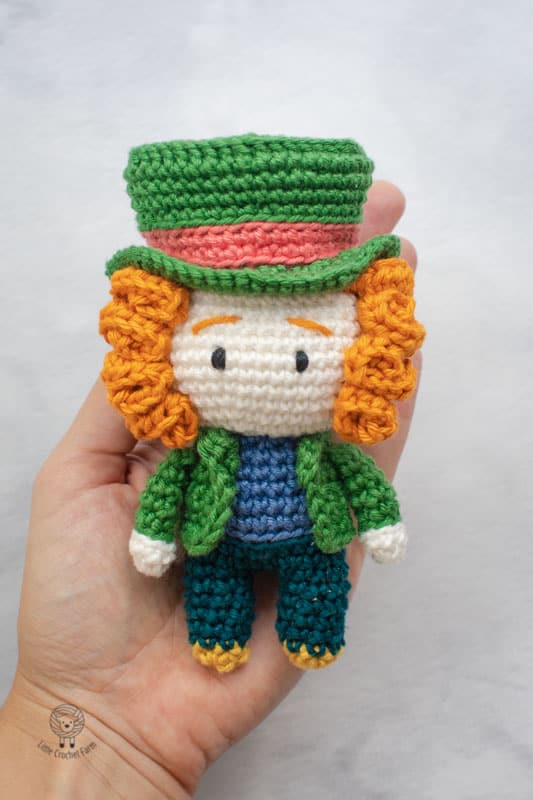
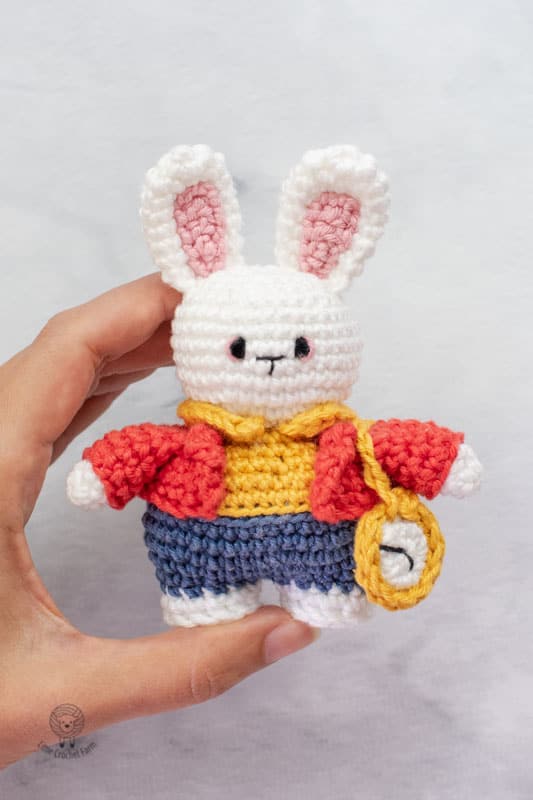
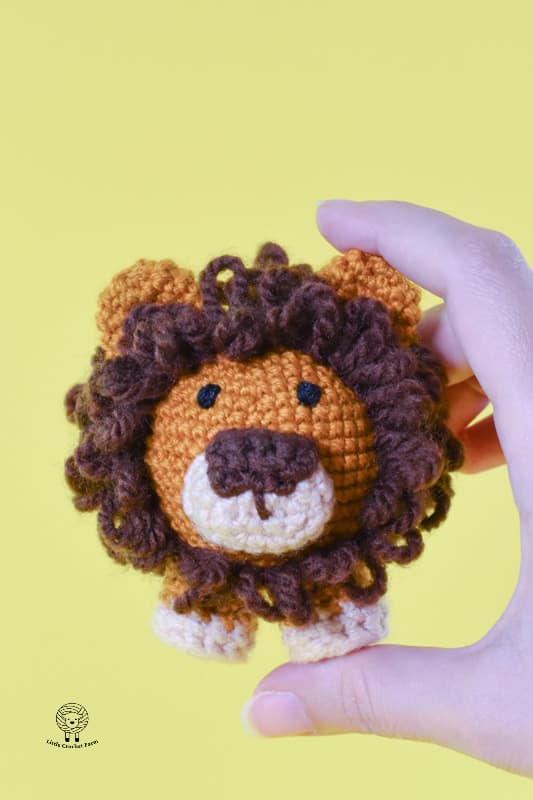
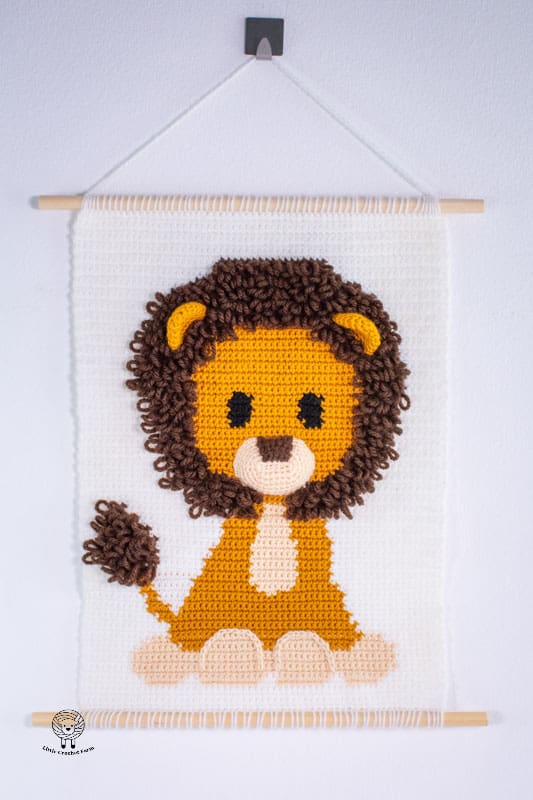
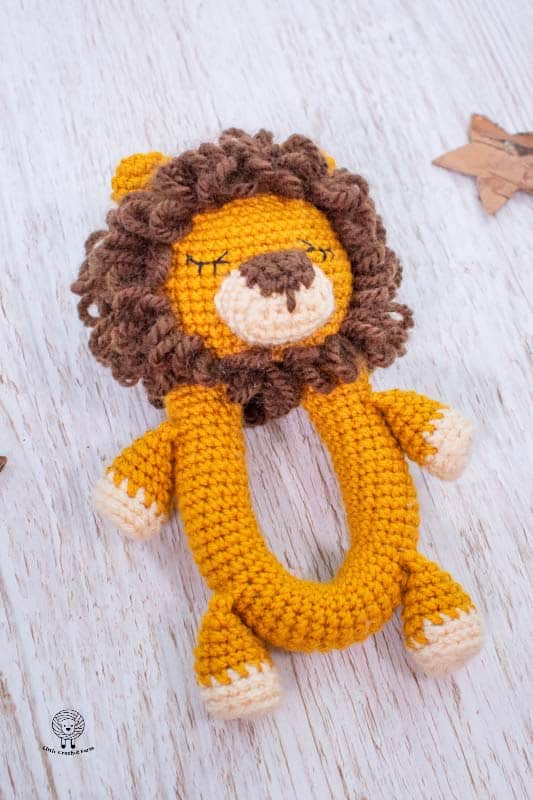
Other Little amigurumi animals you may like:

Before we start, I leave a link to all the stitches tutorial I used to complete this pattern. If you are a complete beginner or not familiar with some technique, there is a blog post with step-by-step images with descriptions and video tutorials.
Pin it for later!!!
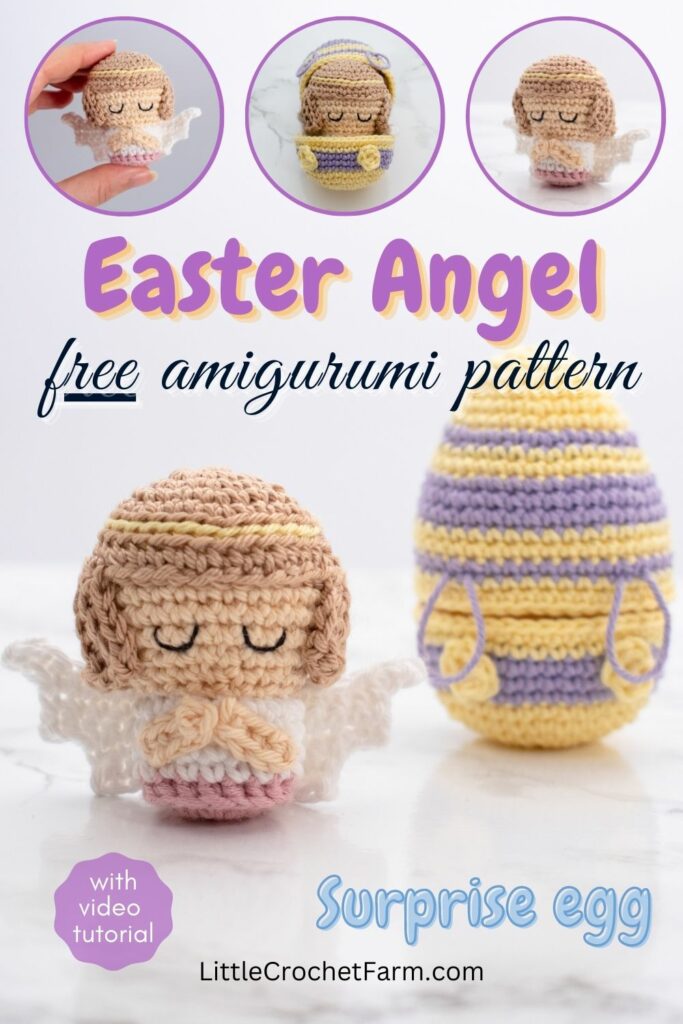
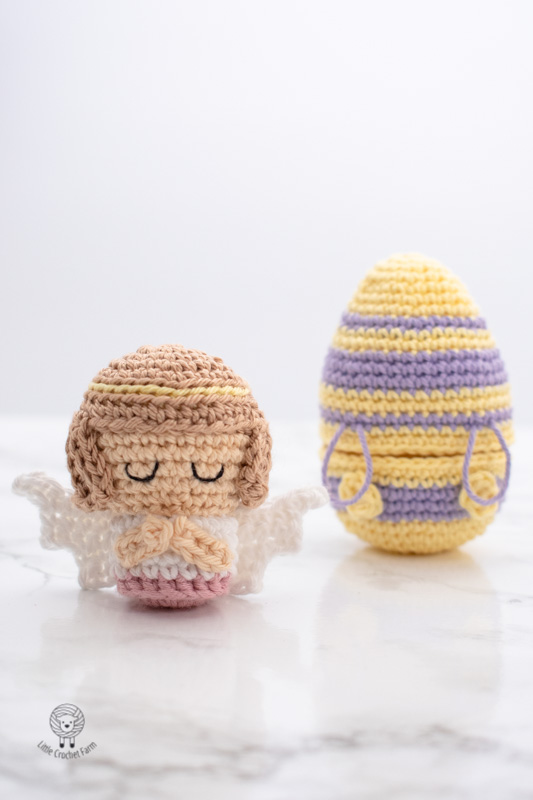
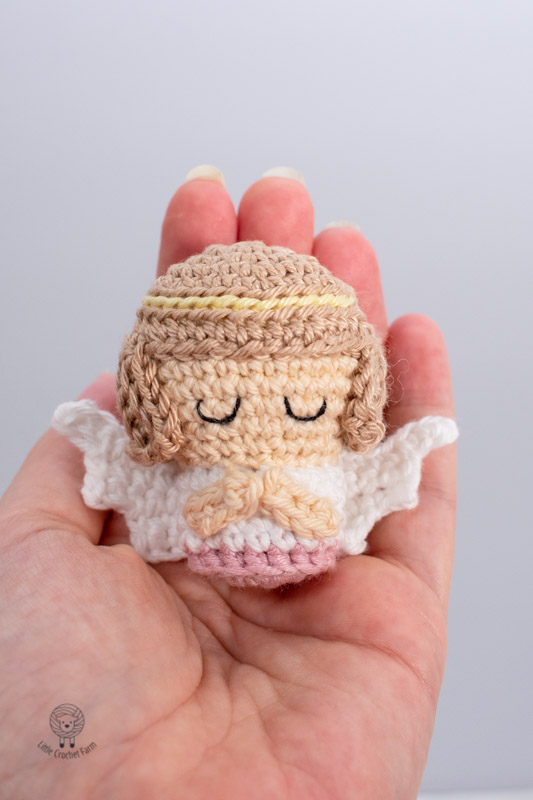
Easter Angel amigurumi free pattern
Materials:
- 2mm crochet hook
- white yarn for the wings and body, pink for the bottom, yellow for the halo and 2 shades of your preference for the skin and hair. Two different colors for the egg shell. I used 100% cotton, lightweight, 4ply.
- Black thread for embroidering the eyes.
- Stuffing material
- Scissors
- Sewing needle.
- Or, you can use safety eyes! The position is at the end of this post.
Finish size: about 5,5cm / 2,3 inches the Angel and 9cm / 3,6 inches the Easter egg.
For a low cost, ad-free and printable pattern, you can find it in Ravelry here!
And on Etsy here!
Terms and abbreviations (US terms):
Single crochet (sc): insert the hook into the stitch, pull up a loop yarn over the needle, you will have two loops on the hook, yarn over the needle, and pull it through the two loops.
Increase (inc): make two single crochet inside the same stitch.
Decrease (dec): Insert hook into front loop only of next two stitches, yarn over, pull through, you will have two loops on the hook. Yarn over and pull through both loops on the hook.
Back loop Slip stitch (blsl): Insert hook into the back loop only of the stitch, yarn over, pull through both stitch and loop on hook.
Back loop single crochet (blsc): Insert hook into the back loop only of the stitch, pull up a loop yarn over the needle, you will have two loops on the hook, yarn over the needle, and pull it through the two loops.
BODY
With color of the bottom (my case, the pink) yarn start,
1 rnd 6sc in a magic ring
2 rnd 6inc Total 12sts
3 rnd (1sc, 1inc) repeat 6 times Total 18sts
4 rnd 18bpsc
• Change to white,
5 to 10 rnd 18sc
• Cut the yarn and fasten it off.
HEAD
With the skin tone of your choice start,
1 rnd 6sc in a magic ring
2 rnd 6inc Total 12sts
3 rnd (1sc, 1inc) repeat 6 times Total 18sts
4 rnd (2sc, 1inc) repeat 6 times Total 24sts
5 rnd (3sc, 1inc) repeat 6 times Total 30sts
6 to 10 rnd 30sc
11 rnd (3sc, 1dec) repeat 6 times Total 24sts
12 rnd (2sc, 1dec) repeat 6 times Total 18sts
• Cut the yarn, fasten it off and leave a tail for sewing it later.
HAIR
With the hair color of your choice start,
1 rnd 6sc in a magic ring
2 rnd 6inc Total 12sts
3 rnd (1sc, 1inc) repeat 6 times Total 18sts
4 rnd (2sc, 1inc) repeat 6 times Total 24sts
5 rnd (3sc, 1inc) repeat 6 times Total 30sts
• Change to yellow,
6 rnd 30blsl
• Change back to hair color,
7 rnd 30blsl
8 rnd 30blsc
9 rnd chain 5, skip the first chain, make 1sc on each chain (4sc) join with a sl, turn the work, continue working on the chain, make 4sc, chain one, turn, 4blsc, join with sc on the foundation.
Repeat this process 18 times. Heaving 12 stitches in front of the face unworked.
Cut the yarn, fasten it off and leave a tail for sewing later.
WINGS
With white yarn chain 5, skip the first chain and start,
1 row 4sc, chain 1 and turn,
2 row 4sc, chain 3, turn
3 row skip the first chain, 6sc, chain 1 and turn,
4 row 6sc, chain 3, turn
5 row skip the first chain, 8sc.
• Make 5sc on the side, going down on the side of the detail.
• Cut the yarn and fasten it off. Leave a small tail for sewing.
• Make another one following the same instructions.
ARMS
With the skin tone of your choice chain 5. Skip the first chain and start,
1 row 4sc
• Cut the yarn and fasten if off. Leave a small tail for sewing it.
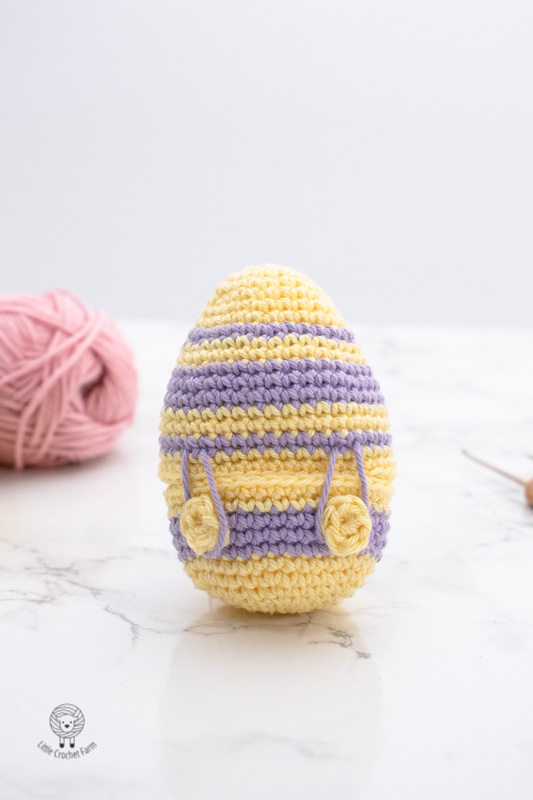
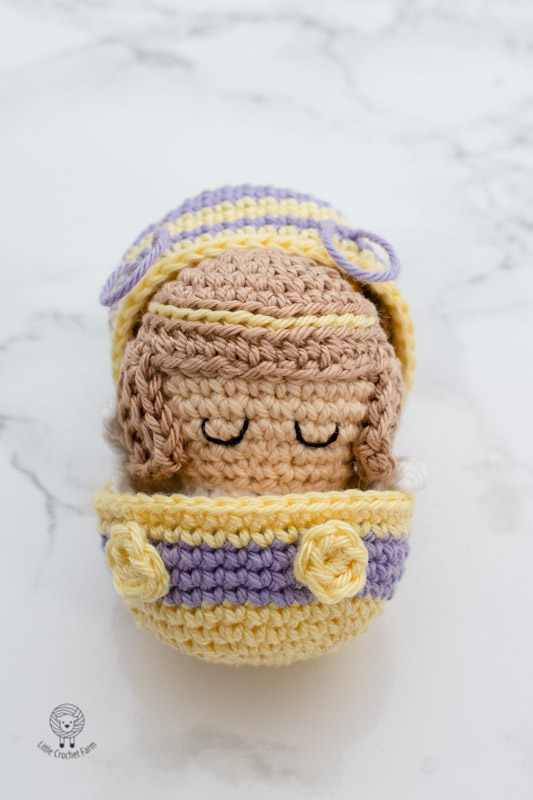
EGG SHELL
•Bottom shell
With color of your preference start,
1 rnd 6sc in a magic ring
2 rnd 6inc Total 12sts
3 rnd (1sc, 1inc) repeat 6 times Total 18sts
4 rnd (2sc, 1inc) repeat 6 times Total 24sts
5 rnd (3sc, 1inc) repeat 6 times Total 30sts
6 rnd (4sc, 1inc) repeat 6 times Total 36sts
7 rnd (17sc, 1inc) repeat 2 times Total 38sts
• Change color
8 rnd 38sc
9 rnd 9sc, 1inc, 18sc, 1inc, 9sc Total 40sts
10 rnd 40sc
• Change back to the previous color
11 rnd (19sc, 1inc) repeat 2 times Total 42sts
12 rnd 42sc
• Cut the yarn and fasten it off.
EGG SHELL (cont.)
•Top shell
With color of your preference start,
1 rnd 6sc in a magic ring
2 rnd 6inc Total 12sts
3 rnd (1sc, 1inc) repeat 6 times Total 18sts
4 rnd (2sc, 1inc) repeat 6 times Total 24sts
5 rnd 24sc
6 rnd (3sc, 1inc) repeat 6 times Total 30sts
7 rnd 30sc
• Add the second color of the shell and start working with both colors,
8 rnd (4sc, 1inc) repeat 6 times Total 36sts
• Change color
9 rnd 36sc
10 rnd (17sc, 1inc) repeat 2 times Total 38sts
• Change color
11 rnd 9sc, 1inc, 18sc, 1inc, 9sc Total 40sts
12 rnd (19sc, 1inc) repeat 2 times Total 42sts
13 rnd 42sc
• Change color
14 and 15 rnd 42sc
• Change color
16 rnd 42sc
• Change color
17 and 18 rnd 42sc
• Don’t cut the yarn, instead, crochet together with the bottom part following:
Here, you will grab the back loop only of one stitch of the finished bottom part of the egg and the back loop of the top part of the shell which is the one you are currently working with.
• 8blsc crocheting together the top shell with the bottom.
NOTE: pay attention here that the back loop of the stitch from the bottom part of the shell is facing you (making it look like is the “front loop“. But is just because of the position of the shell. The back loop should be facing inside the shell.
• Cut the yarn and fasten it off.
• Now, you have two options. Either add little buttons to be the opening and closing of the egg or, like I did, crochet the buttons by doing 7sc inside a magic ring, and joining with an sl.
• Sew the buttons on round 9 of the bottom of the shell leaving 6 stitches between them.
• Attach two pieces of yarn to close the shell in round 16 of the top shell.
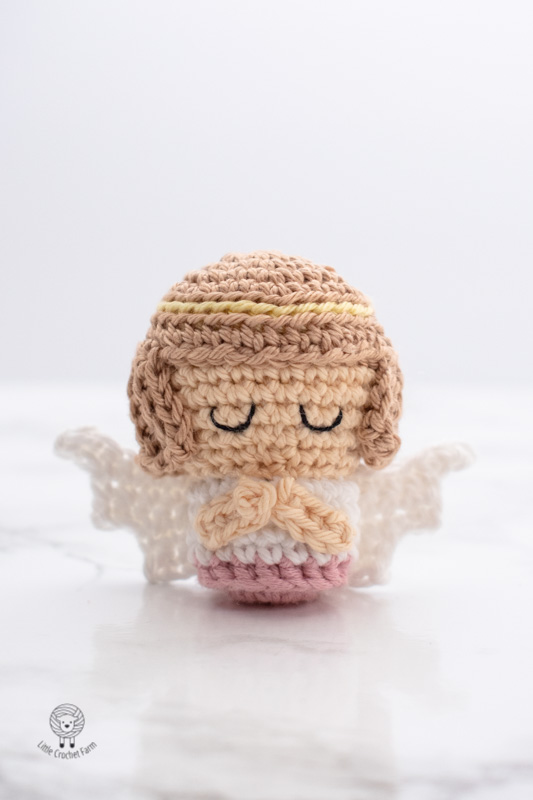

ANGEL ASSEMBLY
- Place the hair on Angel’s head. Use pins to organize the back side of the hair, which is a little bit wavy. Start sewing the hair by the front part, taking all the 12 stitches left unworked. For the back side, sew the waves replacing the pins.
- Embroider the closed eyes with a length of two stitches in round 10 of the lam leaving 2 stitches between them.
- Sew the wings on the central backside of the Angel.
- Sew the little hands in round 5 of the body, going slightly up to round 7. Leave the first stitch of the hand without sewing, this will give the impression of the prayer hands.
Congratulations!!!
Your Little Easter Angel amigurumi is ready!
I hope you enjoy this pattern! If you have any questions or comments, leave them in the comment box below.
If this mini Angel crochet pattern was clear and useful to you, consider subscribing to my YouTube channel. I schedule to add every week a new free pattern and a new stitch tutorial to help you learn a bit more about this crochet toys world!
I also will share here my Ravelry shop where you can find a bit more advanced crochet patterns. And, on Ravelry, there is available a low-cost printable version of these free patterns you can see here.
See you next time!
Love,
Ana
You may also like:
Please send the pattern for the surprise egg. My late mother had made one with a chick inside. However that is one pattern I couldn’t find in her collections. So would appreciate it.
Hey Nancy! The pattern for the surprise egg is at the end of this post! Right after the angel. The pattern for the chick is also together with the egg pattern!