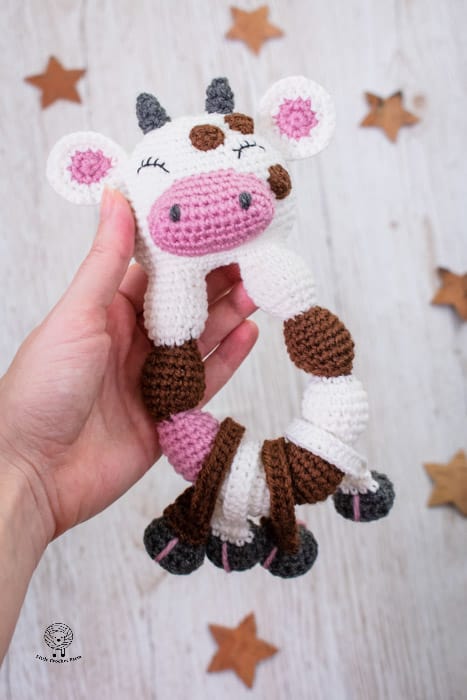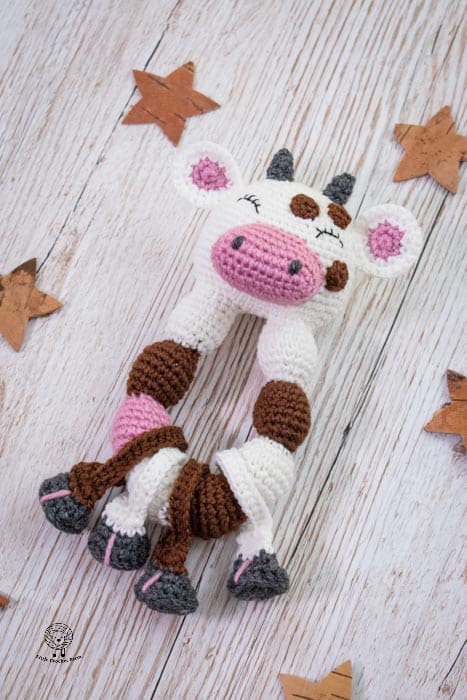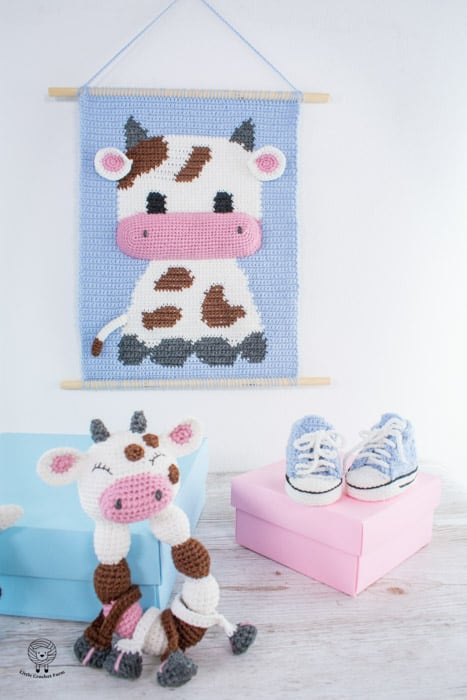
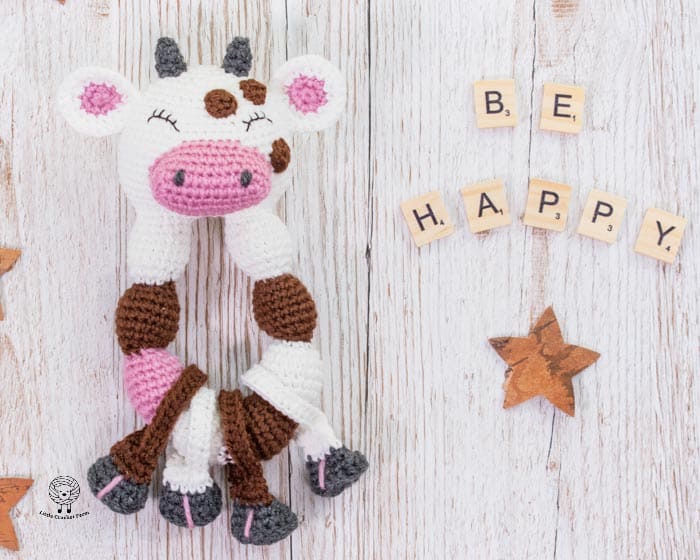
If you’re looking for the sweetest handmade baby gift, this Baby Cow Amigurumi Rattle is exactly what you need. I designed her as part of my Baby Toys Collection, and she quickly became one of my favorites. Those floppy spotted legs, the sleepy little eyes, and that soft pink nose make her absolutely impossible to resist. She works up beautifully with basic crochet skills, and the step-by-step photo tutorial makes the whole process clear and easy to follow. A baby shower gift, a newborn present, or just a little something made with love, she is guaranteed to make someone very happy.

A Little Gift That Rattles With Love
I designed this pattern with beginners in mind, so even if you’re still getting comfortable with amigurumi, you’ll find the instructions clear and easy to follow. The step-by-step pictures walk you through every row, so you’re never left guessing.
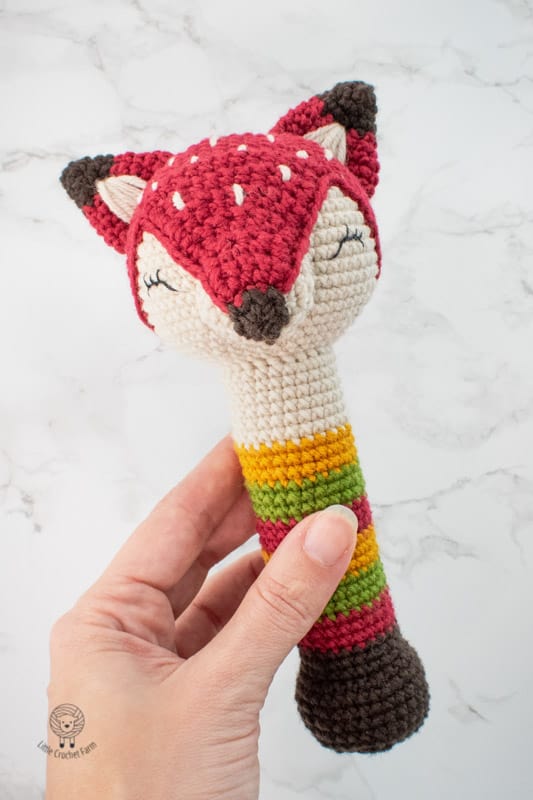
And if you love this baby rattle toy, there are many other crochet toys for babies you may enjoy! My favorites being:
If you like video patterns, check out other options on my YouTube channel. There are a couple of crochet toys and stitch tutorials for amigurumi. I am updating every week with new creations there! Subscribe and leave me a thumbs up! It would make me super happy!
Join the Farm on Patreon
Your crochet. Your Rules!
As a member, you can browse the entire website ad-free and enjoy full access to every pattern online — clean, simple, and easy to read. You’ll have the freedom to choose which PDFs to download each month from a growing exclusive library, help shape what I design next, and receive priority support.
Cancel anytime. Stay as long as you love it.
Crochet Cow Rattle Pattern

Prefer a PDF Version Of this Pattern?
The ad-free PDF includes detailed instructions and step-by-step photos.
Materials:
- 2mm crochet hook,
- White, brown, pink, and light gray sports-weight yarn.
- Black thread to embroider the eyes.
- Sewing needle,
- Stuffing material hypoallergenic polyester,
- Scissors
- Rattle noise maker
Finished Size
The finished sleeping cow rattle measures approximately 7″ (18 cm) tall. However, the final size may vary depending on your stitch tension and the materials used.
Gauge
Gauge is not crucial for this pattern, so feel free to use a hook size that matches your chosen yarn. I always recommend using a slightly smaller hook to keep the stitches tight and prevent the stuffing from showing through. If needed, adjust your hook size for a neater finish.
Useful Crochet Tutorials
Before we start, I leave a link to all the stitches tutorials I used to complete this pattern. If you are a complete beginner or not familiar with some techniques, there is a blog post with step-by-step images with descriptions, and video tutorials.
Terms and abbreviations (US terms):
Slip stitch (sl): insert the hook into the stitch and pull up a loop, now, pull it through the loop on your needle.
Single crochet (sc): insert the hook into the stitch, and pull up a loop yarn over the needle, you will have two loops on the hook, yarn over the needle, and pull it through the two loops.
Double Crochet (dc): yarn over the needle, insert the hook into the stitch, pull up a loop, yarn over the needle, pull through the first two loops of your needle, yarn over the needle, inside all loops on the needle.
Increase (inc): make two single crochet inside the same stitch.
Decrease (dec): Insert the hook into the front loop only of the next two stitches, yarn under, and pull through, you will have two loops on the hook. Yarn under and pull through both loops on the hook.
No time to crochet right now?
Save it for later!
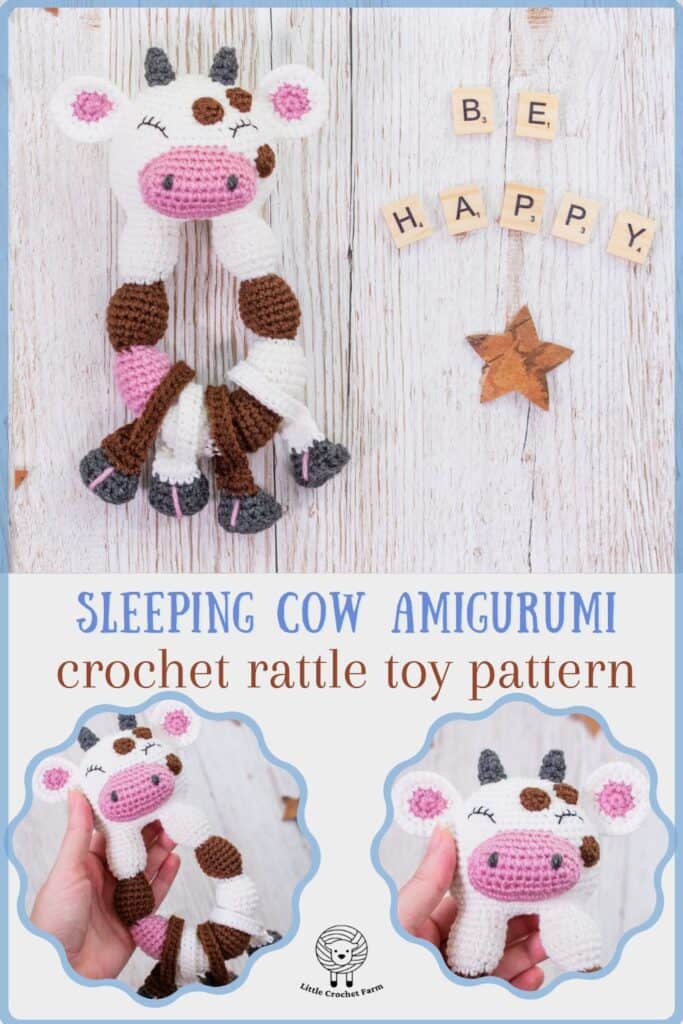
Add this pattern to your favorite Pinterest crochet board so you can find it anytime!


Crochet cow rattle toy – Step-by-Step
Grip
With white yarn chain 13, skip first chain
1 rnd 12sc closing a circle
2 rnd (1sc, 1inc) repeat 6 times Total 18sts
3–6 rnd 18sc
7 rnd (1sc, 1dec) repeat 6 times Total 12sts
8 rnd (2sc, 1dec) repeat 3 times Total 9sts
- Change to brown yarn
- Next row, you are going to work in BLSL. This means that you will create an inside row that will mark the ending of the ball. For row 10, you will work in the remaining front loop of the row 8
9 rnd 9blsl
- Add stuffing material on each ball after making the 9blsl.
10 rnd FL(2sc, 1inc) repeat 3 times Total 12sts
11 rnd (1sc, 1inc) repeat 6 times Total 18sts
- Repeat rnd 3 to 11 rnd, 7 times, until you have 8 balls
- Make the color combination you wish. Always change your yarn color before making the 9blsl. Here you have two options, the last ball should be with white color yarn or, if you are working with another color, change to white yarn before moving to the next row.


Head
Continue working with white color. Chain 3.
- Connect the edges by inserting the chain on your needle inside one stitch of the beginning edge.
NOTE: for the row 75 you should make 1SC in each of the chains, 12sc around the ball, again 1SC in the other side of each chain, 12sc. Having a total of 30 stitches.
75 rnd 30sc
76 rnd (4sc, 1inc) repeat 6 times Total 36sts
77 rnd (5sc, 1inc) repeat 6 times Total 42sts
78 rnd (6sc, 1inc) repeat 6 times Total 48sts
79 rnd (7sc, 1inc) repeat 6 times Total 54sts
80-87 rnd 54sc
88 rnd (7sc, 1dec) repeat 6 times Total 48sts
89 rnd 48sc
Tip: use a colorful yarn as a marker in the last stitch of every row. This will help you to keep track of your work and avoid getting lost.
90 rnd (6sc, 1dec) repeat 6 times Total 42sts
91 rnd 42sc
92 rnd (5sc, 1dec) repeat 6 times Total 36sts
93 rnd 36sc
94 rnd (4sc, 1dec) repeat 6 times Total 30sts
95 rnd (3sc, 1dec) repeat 6 times Total 24sts
96 rnd (2sc, 1dec) repeat 6 times Total 18sts
- Stop here for finish stuffing the toy and add the rattle noise if you want.
97 rnd (1sc, 1dec) repeat 6 times Total 12sts
- Cut the yarn and fasten off by weaving it through the front loops of the last 12 stitches. Pull tight to close the opening.
- Weave in the remaining yarn and hide it inside the toy.


Snout
With dark pink yarn chain 11, skip frist chain and start working in rounds,
1 rnd 9sc, (4sc in the last chain, turning the work clockwhise and continuing on the other side), 8sc, (3sc in the last chain) Total 24sts
2 rnd 10sc, 1inc, 1inc, 3sc, 1inc, 2sc, 1inc, 3sc, 1inc, 1inc Total 30sts
3-5 rnd 30sc
- Cut the yarn and fasten off. Leave a tail for sewing.
Ears
With pink, start:
1 rnd 6sc in a magic ring
2 rnd 6inc Total 12sts
- Cut the yarn, fasten off and make another one.
With white yarn start,
1 rnd 6sc in a magic ring
2 rnd 6inc Total 12sts
- Place the pink detail you just made together with the white that you are working with it. For the next row, you are going to crochet together one to another.
3 rnd (1sc, 1inc) repeat 6 time Total 18sts
4 rnd (2sc, 1inc) repeat 6 times Total 24sts
- Cut the yarn, fasten off and make another one.


Horns
With gray yarn start,
1 rnd 3sc in a magic ring
2 rnd 3inc total 6sts
3 rnd (1sc, 1inc) repeat 3 times total 9sts
- Cut the yarn, fasten off and leave a tail for sewing.
- Make two.
Legs
With gray yarn start,
1 rnd 5sc in a magic ring
2 rnd 5inc Total 10sts
3 rnd (1sc, 1inc) repeat 5 times Total 15sts
4 rnd 15bpsc
5 rnd 15sc
6 rnd (1sc, 1dec) repeat 5 times Total 10sts
- Change to brown yarn,
7 rnd 10sc
- For the next row, you are going to crochet two stitches together. This will close the paw.
- Add a little bit of stuffing material. If you want the rattle noisier, you can add the rattle noise before the next row.
8 rnd 5sc
- Chain 28, skip the first 2 chains and continue,
9 rnd 26hdc
- Join with a slip stitch on the second stitch of the paw.
- Cut the yarn, fasten off and leave a tail for sewing.
- Make four of this. If you want your toy to be more colorful, feel free to change the color for the other legs. I made two in brown and two in white!


Assembly
- With the help of pins, fasten the details into the toy.
- Sew the snout between row 77 and 85 of the cow.
- Sew the ears between row 85 and 89.
- Sew the horns on top of the head leaving 3 rows distance one from another.
- Sew the paw in the two empty stitches left on the detail. Pay attention to do not spin the legs while sewing!


Eyes and final touches
- With black thread, embroider a sleeping eye using 3 rows of the toy. Start from row 86. Leave 7 stitches distance between them and 1-row distance from the nose.
- With brown yarn, make 6sc in a magic circle, join with a SL. Cut the yarn, fasten off and make 2 more. Sew it on the right side of the cow. Make sure to embroider the eye first, and then add these details!
- With pink yarn, make one line on each of the cow’s paw.
Congratulations!!!
Your Cow Rattle toy is ready!
I hope you enjoy this pattern! If you have any questions or comments, leave them in the comment box below.
If this crochet rattle free pattern was clear and useful to you, consider subscribing to my YouTube channel. I plan to add a new free pattern and a stitch tutorial every week to help you learn more about this crochet toy world!
See you next time!
Love,
Ana
Did you love this project?
Consider subscribing to my YouTube channel for more! Or connect with me on your favorite social platform!
Your Crochet. Your Choice. Your Pace.
As a Patreon member, you can browse the entire website ad-free, view all patterns clean and without distraction, and choose your favorite PDFs to download each month. We also chat, vote on future designs, and shape what Little Crochet Farm becomes — together.