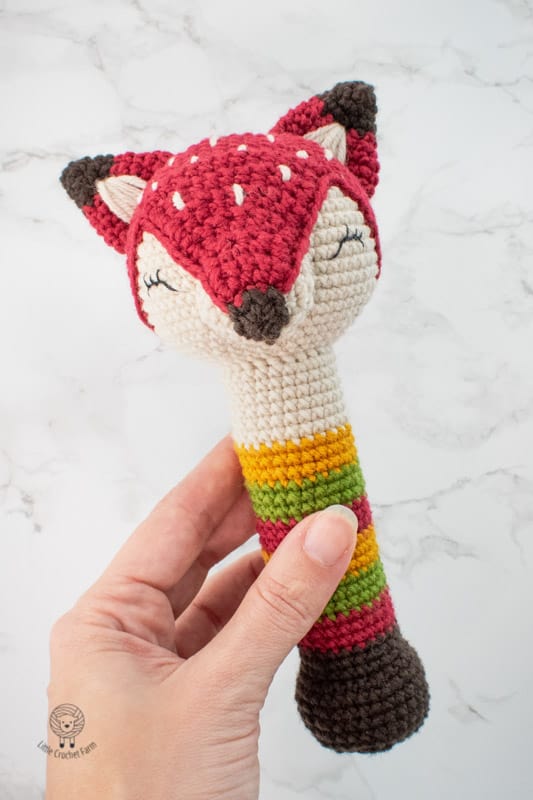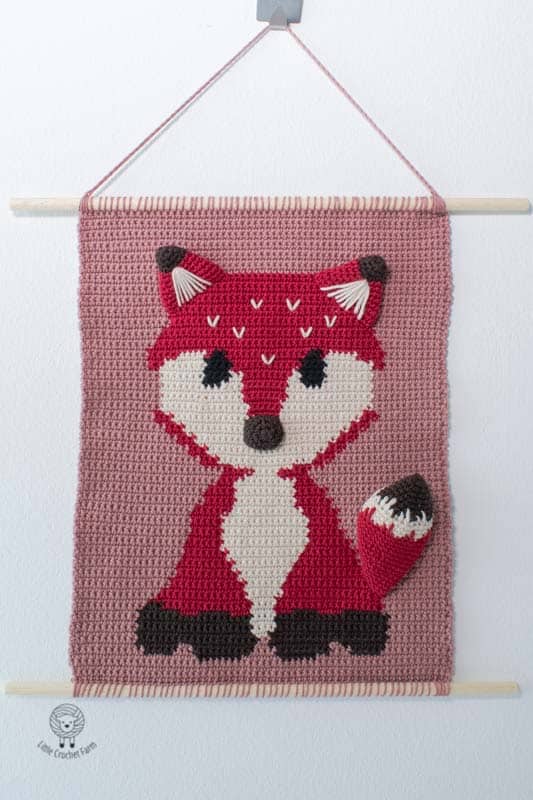
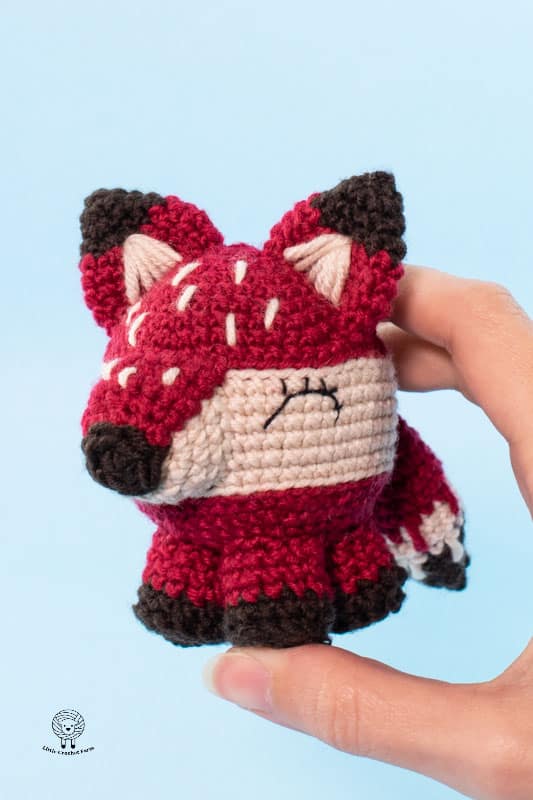
I will start sharing here a Fox collection I made recently. I create this amigurumi Chubby Fox, a Fox rattle toy, teething ring, a beautiful Fox wall hanging and a sitting amigurumi Fox (which is the one I like the most!!!).
Hello there! My name is Ana! Welcome to Little crochet farm.
Here, I share my crochet creations around nursery décor, amigurumi and crochet toys for babies! Crochet tutorials, lessons, paid and free patterns you can find it all here!
If you wish for an ad-free printable version of this pattern, you can find it in Ravelry here!
If you like video patterns, check out other options on my YouTube channel. There are a couple of crochet toys and stitch tutorials for amigurumi. I am updating every week with new creations there! Subscribe and leave me a thumbs up! It would make me super happy!
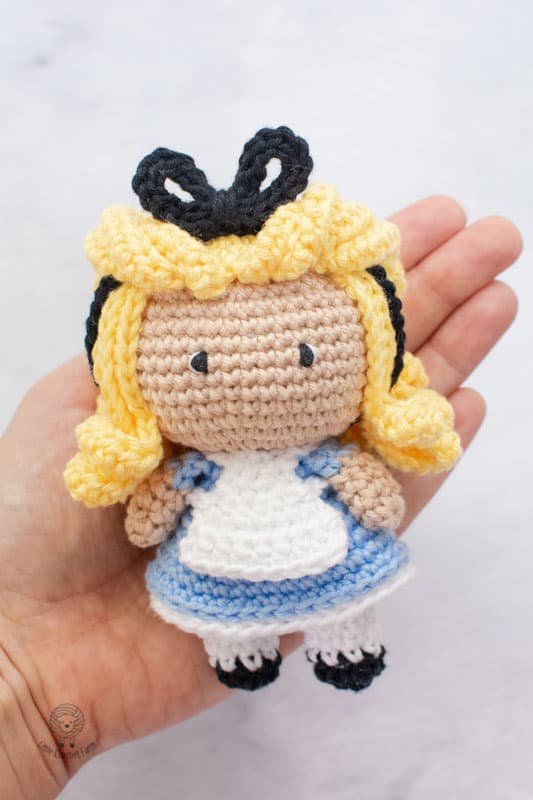
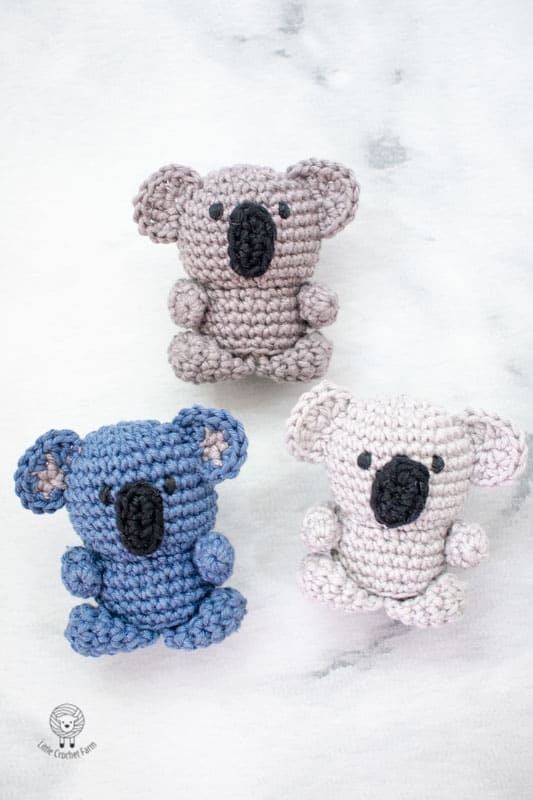
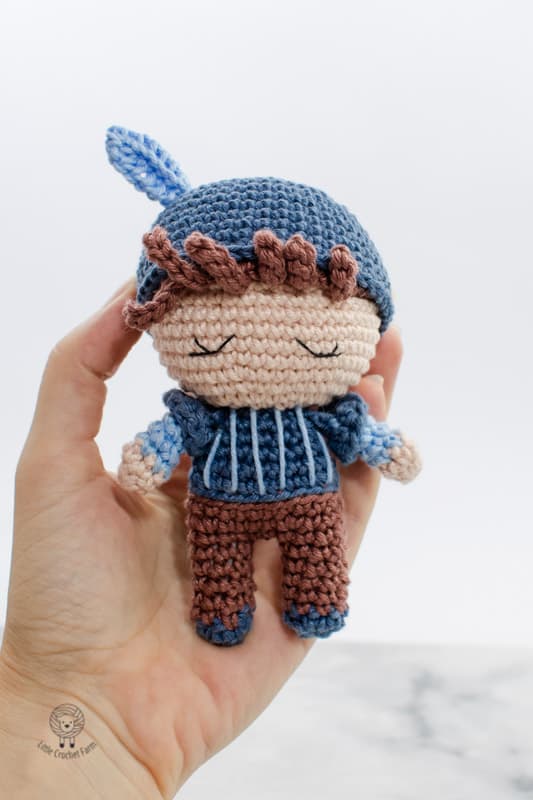
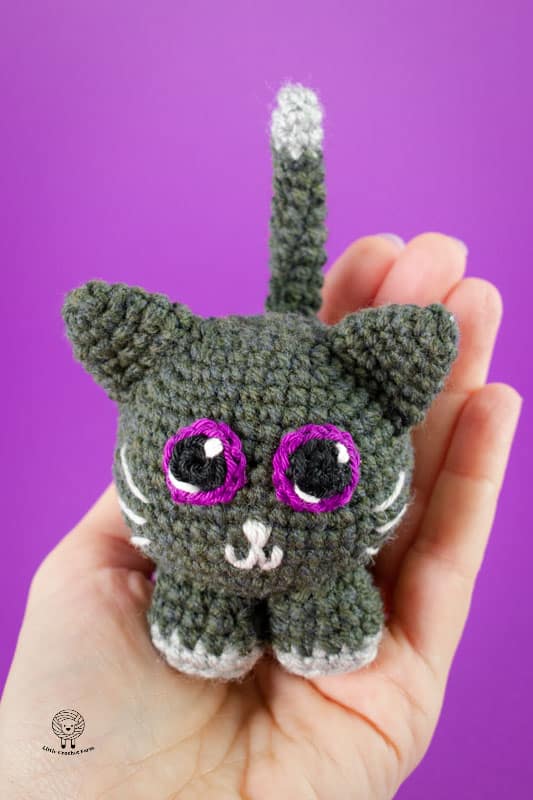
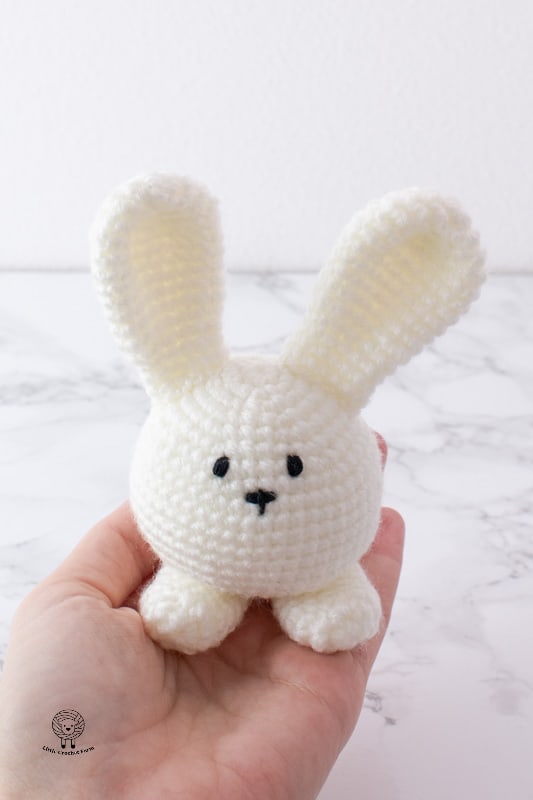
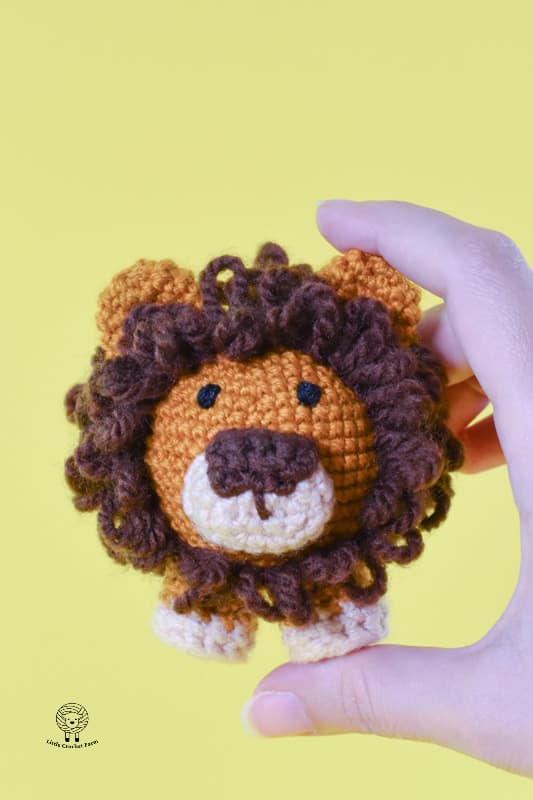
Take a look at other amigurumis you may like!

Before we start, I leave a link to all the stitches tutorial I used to complete this pattern. If you are a complete beginner or not familiar with some technique, there is a blog post with step-by-step images with descriptions and video tutorials.
Pin it for later!!!

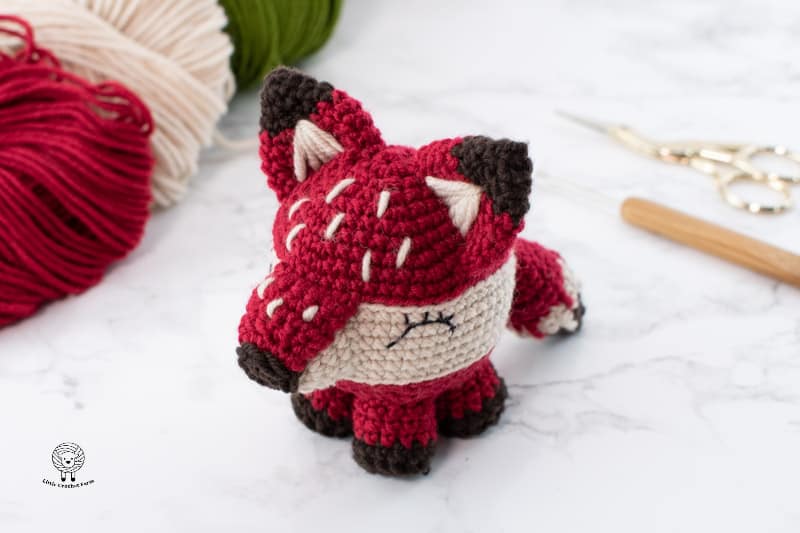
Chubby Fox free amigurumi pattern
Materials:
- 2,75mm crochet hook
- 4ply merino wool in 3 colors, red, dark and light brown, (I used Mondial, the colors are amazing!).
- Black thread for embroidering the eyes.
- Stuffing material
- Scissors
- Sewing needle.
- Or, you can use safety eyes! The position is at the end of this post.
Finish size: 9cm
For a low cost, ad-free printable pattern, you can find it in Ravelry here!

BODY
With red color yarn start,
1 rnd 6sc in a magic ring
2 rnd 6inc Total 12sts
3 rnd (1sc, 1inc) repeat 6 times Total 18sts
4 rnd (2sc, 1inc) repeat 6 times Total 24sts
5 rnd (3sc, 1inc) repeat 6 times Total 30sts
6 rnd (4sc, 1inc) repeat 6 times Total 36sts
7 rnd (5sc, 1inc) repeat 6 times Total 42sts
8 rnd (6sc, 1inc) repeat 6 times Total 48sts
9 rnd 48sc
• Change to beige color yarn
10 rnd 48blsl
11 rnd 48blsc
12 to 16 rnd 48sc
• Change back to red
17 rnd 48blsl
18 rnd 48blsc
19 rnd (6sc, 1dec) repeat 6 times Total 42sts
20 rnd (5sc, 1dec) repeat 6 times Total 36sts
21 rnd (4sc, 1dec) repeat 6 times Total 30sts
22 rnd (3sc, 1dec) repeat 6 times Total 24sts
23 rnd (2sc, 1dec) repeat 6 times Total 18sts
• Stop here to add stuffing material
24 rnd (1sc, 1dec) repeat 6 times Total 12sts
• Cut the yarn and fasten off.
• Hide the remaining tail inside the toy.
PAWS
With brown yarn start,
1 rnd 6sc in a magic ring
2 rnd 6inc Total 12sts
3 rnd 12bpsc
4 rnd 12sc
• Change to red color yarn,
5 to 7 rnd 12sc
• Cut the yarn, fasten off and leave a tail for sewing.
• Make four of this detail in total.
EARS
With brown yarn start,
1 rnd 3sc in a magic ring
2 rnd 3inc Total 6sts
3 rnd (1sc, 1inc) repeat 3 times Total 9sts
4 rnd (2sc, 1inc) repeat 3 times Total 12sts
• Change to red color yarn
5 rnd (3sc, 1inc) repeat 3 times Total 15sts
6 rnd (4sc, 1inc) repeat 3 times Total 18sts
7 and 8 rnd 18sc
• Cut the yarn, fasten off and leave a small tail for sewing.
• Make another one following the same instructions
SNOUT
With light color yarn start,
1 rnd 6sc in a magic ring
2 rnd 6inc Total 12sts
3 rnd (1sc, 1inc) repeat 6 times Total 18sts
4 and 5 rnd 18sc
• Cut the yarn, fasten off and leave a tail for sewing.
TAIL
With brown yarn start,
1 rnd 3sc in a magic ring
2 rnd 3inc Total 6sts
3 rnd (1sc, 1inc) repeat 3 times Total 9sts
4 rnd (2sc, 1inc) repeat 3 times Total 12sts
5 rnd (3sc, 1inc) repeat 3 times Total 15sts
• Change to beige color yarn
6 rnd 15sc (taking every third stitch, a yarn inside the second row)
*check the video min 00:49 of the video tutorial PART 2
7 rnd 15sc
• Change to red color yarn
8 rnd 15sc (repeating the same stitch as round 6)
9 and 10 rnd 15sc
11 rnd (3sc, 1dec) repeat 3 times Total 12sts
12 rnd 12sc
13 rnd (2sc, 1dec) repeat 3 times Total 9sts
14 rnd 9sc
• Cut the yarn, fasten off and leave a tail for sewing it.
• Add stuffing material.
ASSEMBLY
- Sew the ears between rounds 4 to 7
- Find the 6 central stitches of chubby fox face and mark them with a different color yarn.Attach the red color yarn, chain 1 and start working in rows on the remaining front loop (min 29:00 of the video):
1 row 6sc, chain 1, turn
2 and 3 row 6sc, chain 1, turn
4 row 1sc, 1dec, 1dec, 2sc, chain 1, turn Total 4sts
5 row 4sc.
• Cut the yarn, fasten off and leave a tail for sewing it. And continue the assembly.
4. Sew the snout between this detail you just made and rounds 10 to 16.
5. Sew the paws under the chubby body using the central part as a guide, leaving the central in the middle of the four legs.
6. Sew the tail in the round 14 of the toy.
7. For the snout brown detail, take the brown yarn and make 6sc in a magic ring. Connect with a slip stitch. Cut the yarn, leave a tail for sewing. Sew it in on top of the snout.
8. Embroider the eye in round 12, going up to between round 10 and 11. Taking four stitches length.
9. With a piece of beige color yarn, make a couple of sparkles on the red part of the fox.
Congratulations!!!
Your Chubby Fox amigurumi is ready!
I hope you enjoy this pattern, and if you have any questions or comments in general, leave them in the comment box below.
If the chubby Fox crochet pattern was clear and useful to you, consider subscribing to my YouTube channel. I schedule to add every week a new free pattern and a new stitch tutorial to help you learn a bit more about this crochet toys world!
I also will share here my Ravelry shop where you can find a bit more advanced crochet patterns. And, on Ravelry, there is available a low-cost printable version of these free patterns you can see here.
See you next time!
Love,
Ana
You may also like: