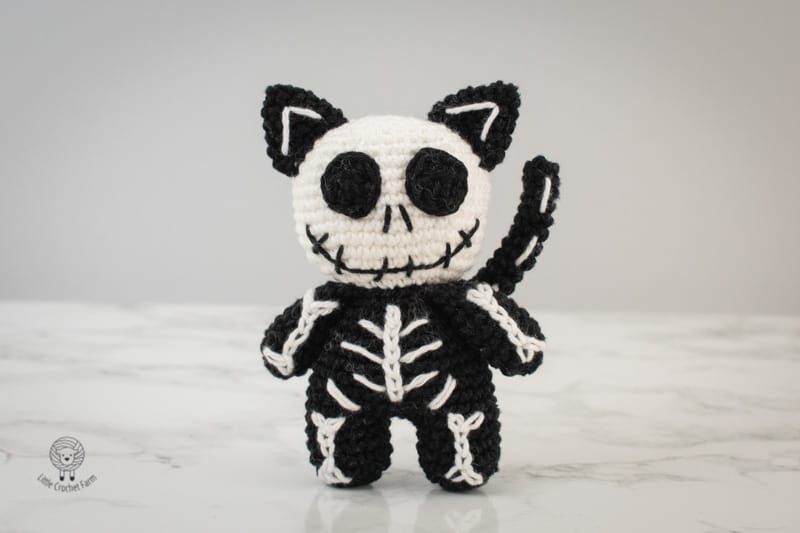
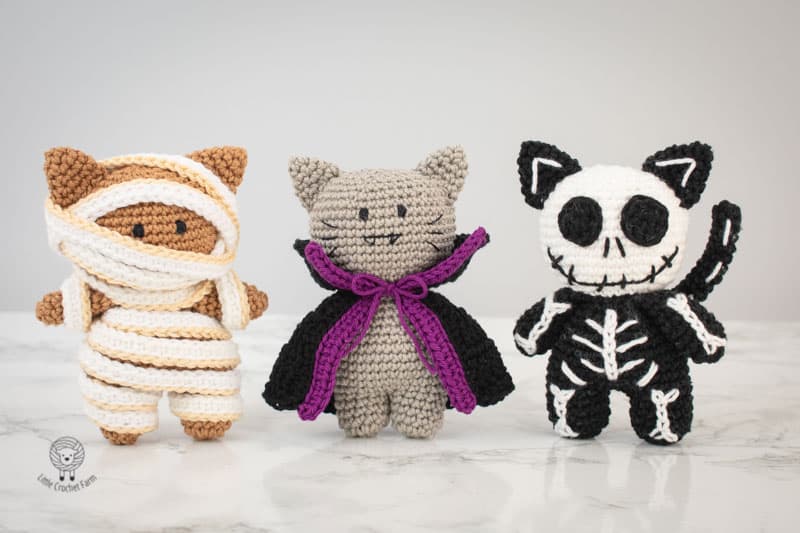
Allow me to introduce you to the new spook-tacular Halloween Cats from the Little Crochet Farm Collection! This special edition of Halloween crochet toys features the delightful Skeleton Cat, the fang-tastic Cat Dracula (or should we say “cat-cula”), and the adorably wrapped Mummy Cat.
There’s something magical about creating something from scratch using yarn and a hook. The best part is watching your creation come to life stitch by stitch. It’s like conjuring up a little magical friend, right out of your imagination!
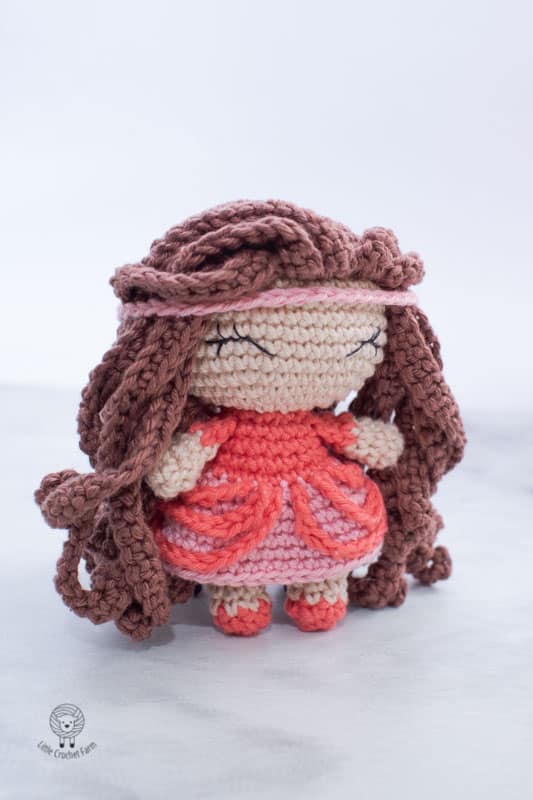
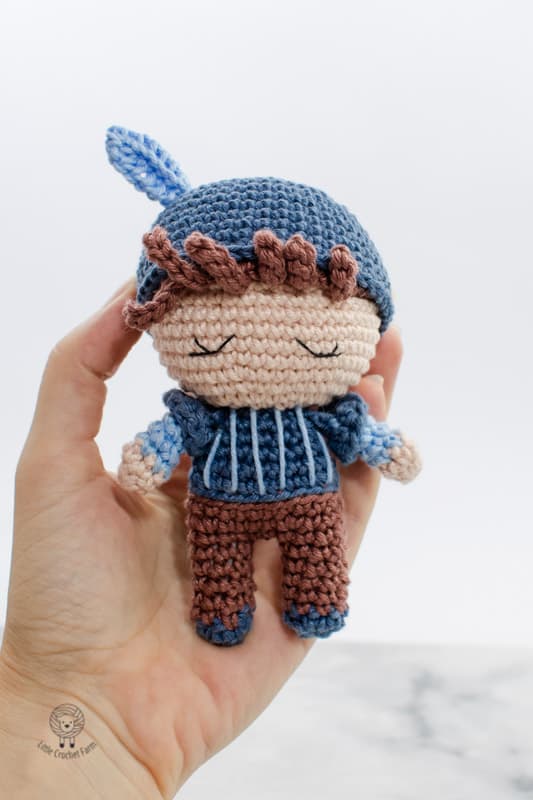
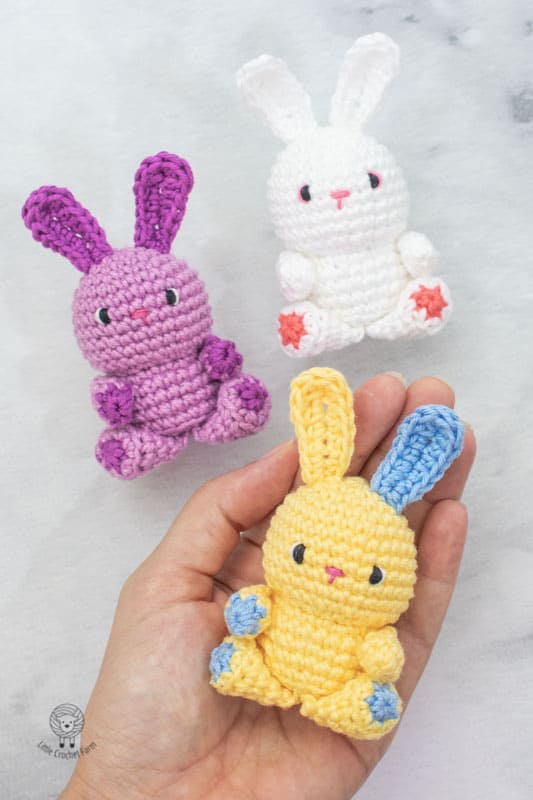
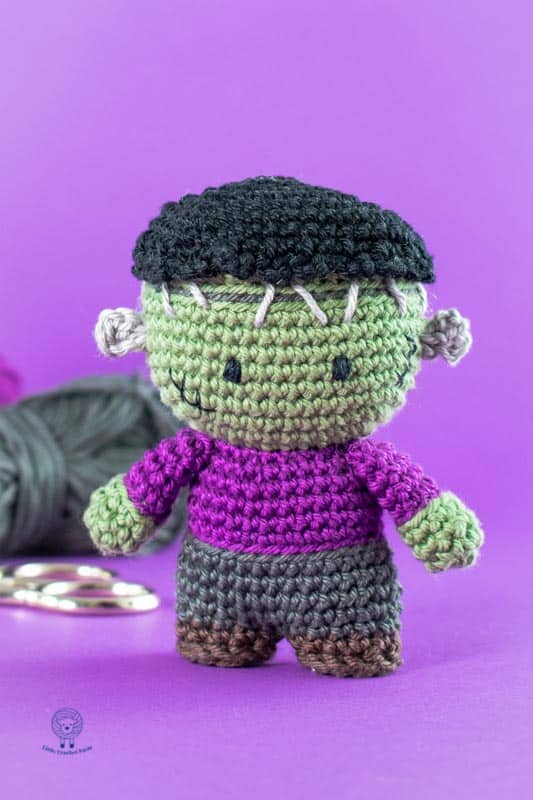
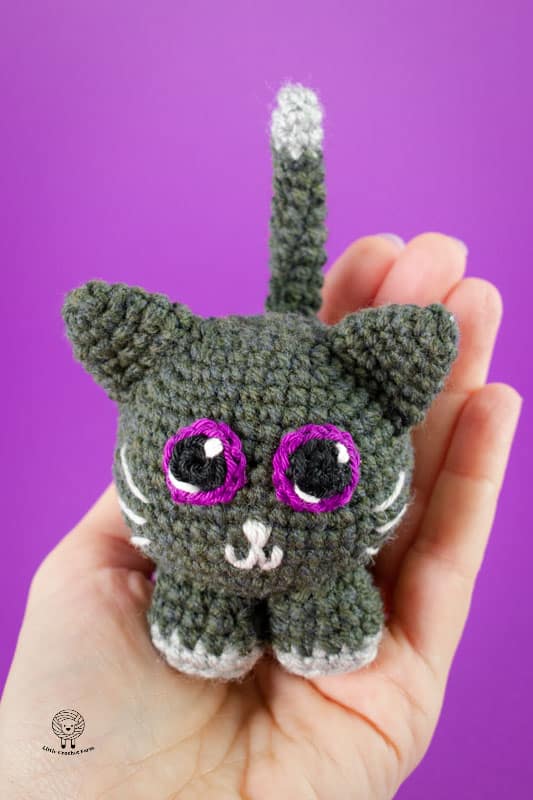
There is other Halloween collection available that might be interesting for you to check out, the Mini Frank, Little Witch, and Chubby Black Cat amigurumi from last year.
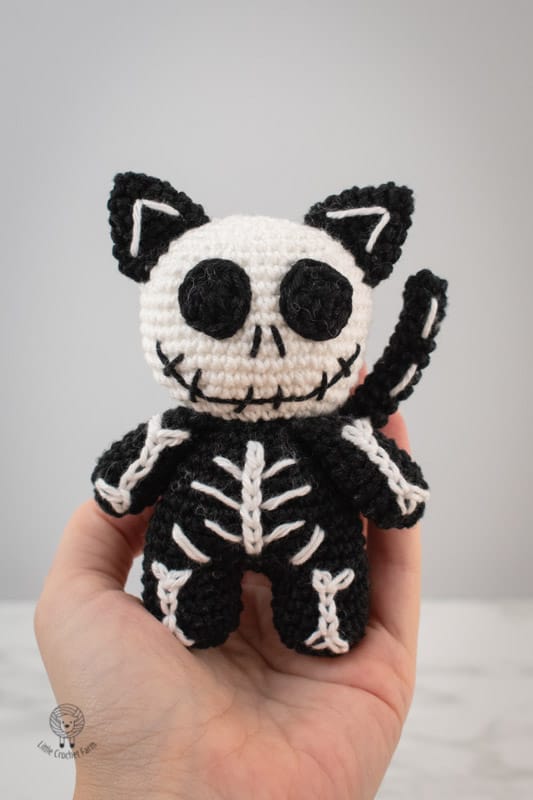
Now, let’s talk about the Skeleton Cat Amigurumi – a unique and delightful project that’s sure to captivate both young and old with its hauntingly adorable charm. The idea for this pattern struck me during a Halloween crafting session with my niece and nephew. They were fascinated by skeletons, and being the cool aunt that I am, I thought, “Why not make a spooky yet cute skeleton cat?” And voila, the idea was born!
The Halloween Cats collection comes with three free amigurumi patterns, as mentioned before! They are all free written patterns on the website but this time, I couldn’t manage to make the video tutorial for the LittleCrochetFarm YouTube channel. So, maybe for the next year!
Hello there! My name is Ana! Welcome to Little crochet farm.
Here, I share my crochet creations around nursery décor, amigurumi and crochet toys for babies! Crochet tutorials, crochet lessons, paid and free patterns you can find it all here!
If you wish for an ad-free printable version of this pattern, you can find it in Ravelry here!
If you like video patterns, check out other options on my YouTube channel. There are a couple of crochet toys and stitch tutorials for amigurumi. I am updating every week with new creations there! Subscribe and leave me a thumbs up! It would make me super happy!
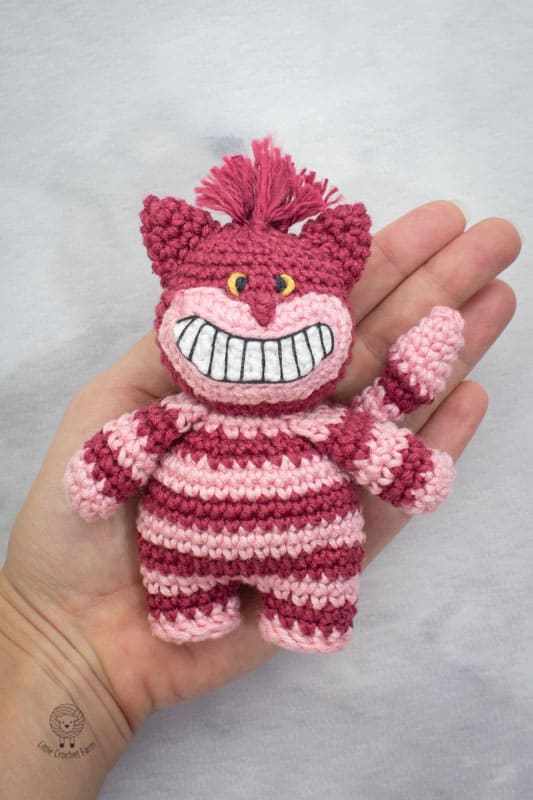
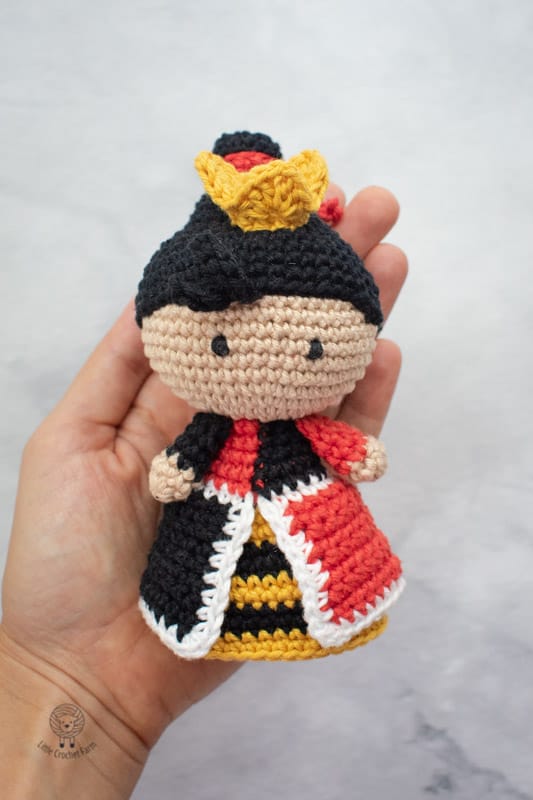
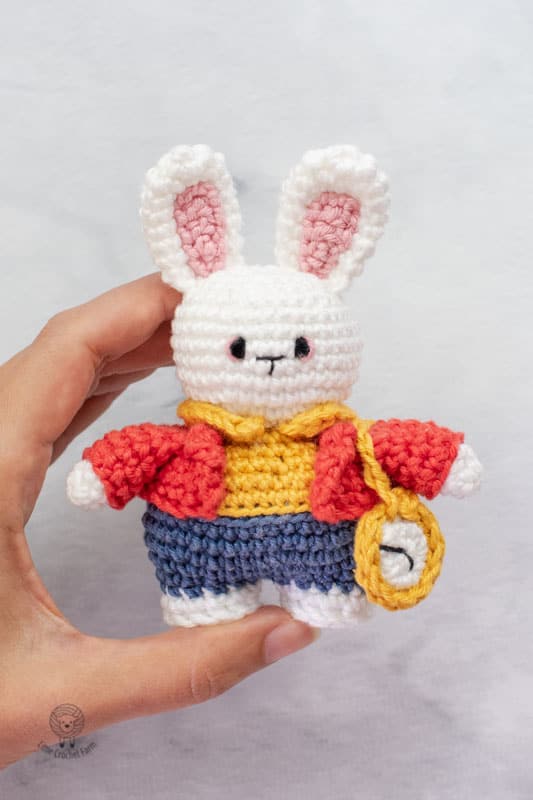
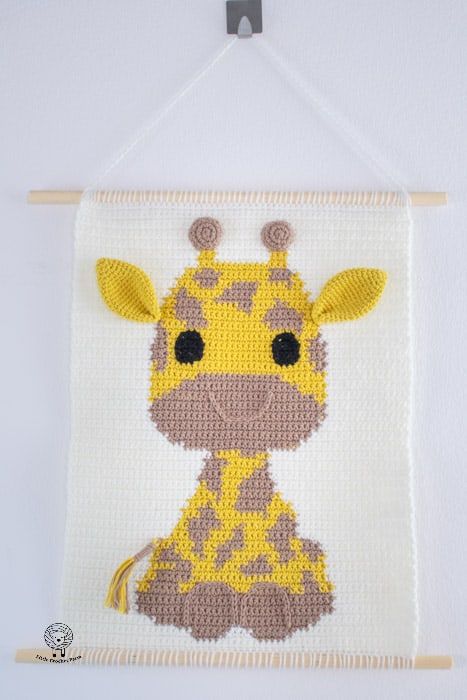
Take a look at other amigurumis you may like!
Before we start, I leave a link to all the stitches tutorial I used to complete this pattern. If you are a complete beginner or not familiar with some technique, there is a blog post with step-by-step images with descriptions and video tutorials.
Pin it for later!!!
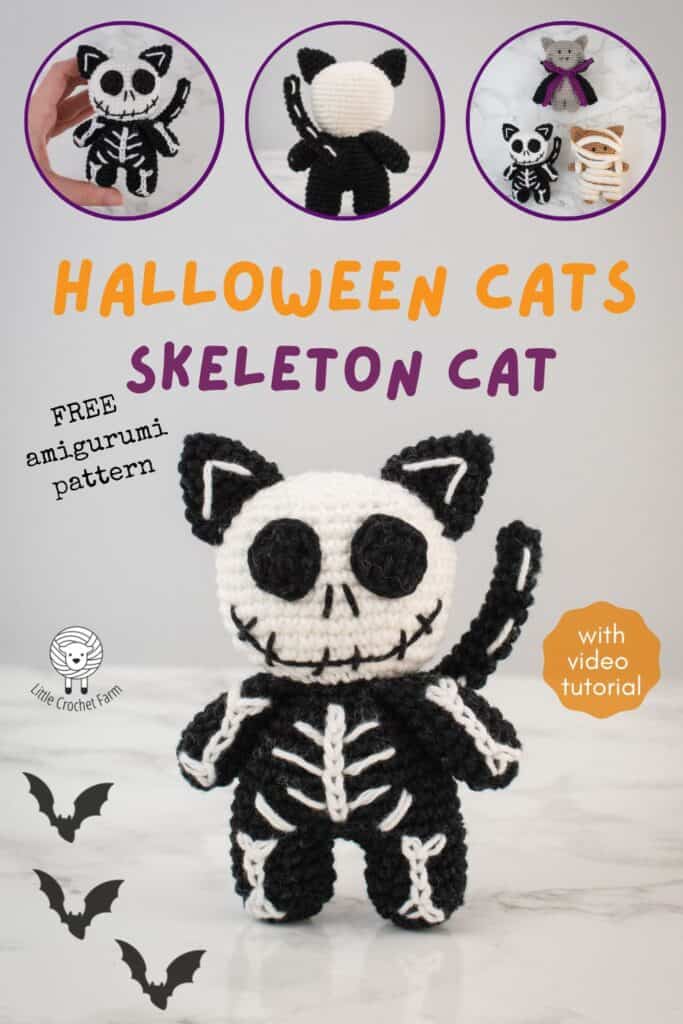
Skeleton Cat amigurumi free crochet pattern
Materials:
- 2mm crochet hook
- Black and white yarn. 100% sports cotton yarn in 2 different colors. The brand used for this toy is Mondial Basic cotton that I purchase in the shop nearby. For similar yarn with the same quality and thickness, I recommend this one, which I also use for many of my toys.
- Black thread for embroidering the eyes and mouth.
- Stuffing material
- Scissors
- Sewing needle.
- Or, you can use safety eyes! The position is at the end of this post.
Finish size: 11cm or (about) 4,3 inches
For a low cost, ad-free and printable pattern, you can find it in Ravelry here!
ARMS
With black color yarn start,
1 rnd 6sc in a magic ring
2 rnd 6inc Total 12sts
3 to 9 rnd 12sc
• Stop here to add a little bit of stuffing material before continuing to round 10.
10 rnd 6sc crocheting the sides together, closing the arm.
• Cut the yarn and fasten it off.
• Make another one following the same instructions
BODY
With black color yarn start,
1 rnd 6sc in a magic ring
2 rnd 6inc Total 12sts
3 rnd (5sc, 1inc) repeat 2 times Total 14sts
4 to 6 rnd 14sc
• Cut the yarn and fasten it off.
• Make another one following the same instructions. Don’t cut the yarn of the second leg. Chain two.
• Insert the loop of the needle inside one of the finished legs and continue working:
7 rnd 32sc
8 rnd (7sc, 1inc) repeat 4 times Total 36sts
9 to 12 rnd 36sc
13 rnd (4sc, 1dec) repeat 6 times Total 30sts
14 rnd 30sc
15 rnd (3sc, 1dec) repeat 6 times Total 24sts
16 rnd 24sc
• Add stuffing material before continuing to next round.
17 rnd (2sc, 1dec) repeat 6 times Total 18sts
• For the next round, you will crochet together with the arms.
18 rnd 3sc, 6sc with one arm, 3sc, 6sc with the other arm.
NOTE: here, if your starting stitch is in a different position than mine, the arms will be placed in different position. If that is your case, you can easily change this round by finding the 3 central stitches in front of the cat. These3 stitches in front, should be the distance between the arms.
HEAD
Change to white color yarn,
19 rnd 18blsl
• For the next round, you will work in the remaining front loop from round 18. This will make the round 19 to be facing inside of the toy, giving a sharp edge between the neck and head.
20 rnd (1inc, 1inc, 1sc) repeat 6 times Total 30sts
21 rnd (4sc, 1inc) repeat 6 times Total 36sts
22 rnd (5sc, 1inc) repeat 6 times Total 42sts
23 rnd (6sc, 1inc) repeat 6 times Total 48sts
24 to 30 rnd 48sc
31 rnd (6sc, 1dec) repeat 6 times Total 42sts
32 rnd (5sc, 1dec) repeat 6 times Total 36sts
33 rnd (4sc, 1dec) repeat 6 times Total 30sts
34 rnd (3sc, 1dec) repeat 6 times Total 24sts
35 rnd (2sc, 1dec) repeat 6 times Total 18sts
• Stop here to finish adding stuffing material.
36 rnd (1sc, 1dec) repeat 6 times Total 12sts
• Cut the yarn and fasten off.

EARS
With gray color yarn start,
1 rnd 4sc in a magic ring
2 rnd (1inc, 1sc) repeat 2 times Total 6sts
3 rnd (1inc, 2sc) repeat 2 times Total 8sts
4 rnd (1inc, 3sc) repeat 2 times Total 10sts
5 rnd (1inc, 4sc) repeat 2 times Total 12sts
6 rnd (1inc, 5sc) repeat 2 times Total 14sts
• Cut the yarn and fasten it off. Leave a tail for sewing it.
• Make another one following the same instructions.
EYES
With black color yarn start,
1 rnd 7dc in a magic ring
• Join with a sl.
• Cut the yarn and fasten off. Leave a tail for sewing it.
• Make another one.
TAIL
With gray color yarn start,
NOTE: this is optional. For my cat dracula, I didnt add the tail since the cape is covering.
1 rnd 6sc in a magic ring
2 to 18 rnd 6sc
19 rnd 3sc crocheting the sides together.
• Cut the yarn and leave a tail for sewing it.
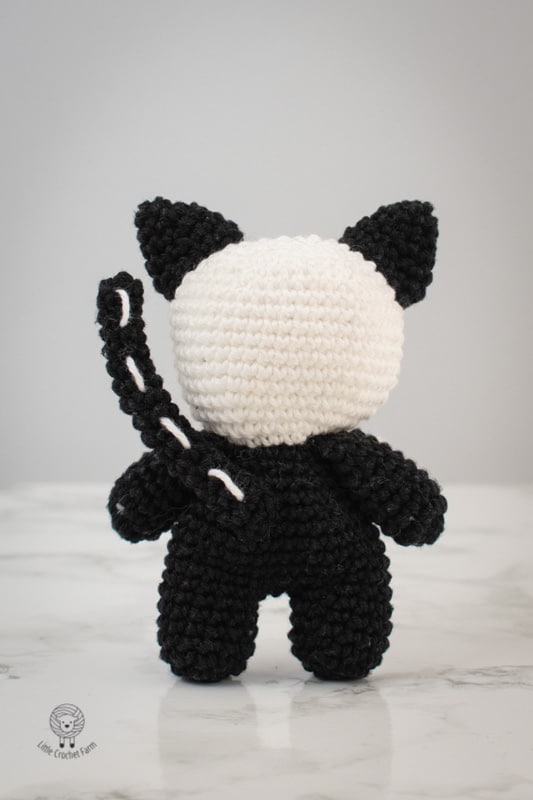
Assembly and final details
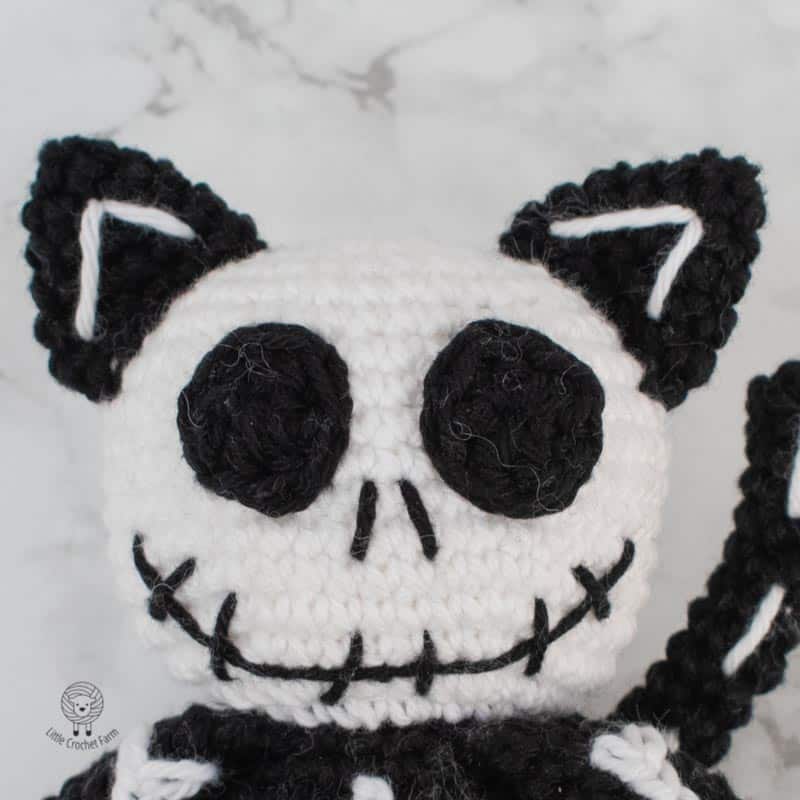
- With pins, fasten the ear over the head. Sew it between rounds 34 and 33, going down 6 rounds.
- Sew the eyes between rounds 30 and 25. Leave a distance of two stitches between them.
- With black thread, embroider two lines for the nose between the eyes, taking two rounds in length.
- Embroider a big mouth between rounds 24 and 21 (see images for reference).
- Sew the tail in the central back side of the cat.
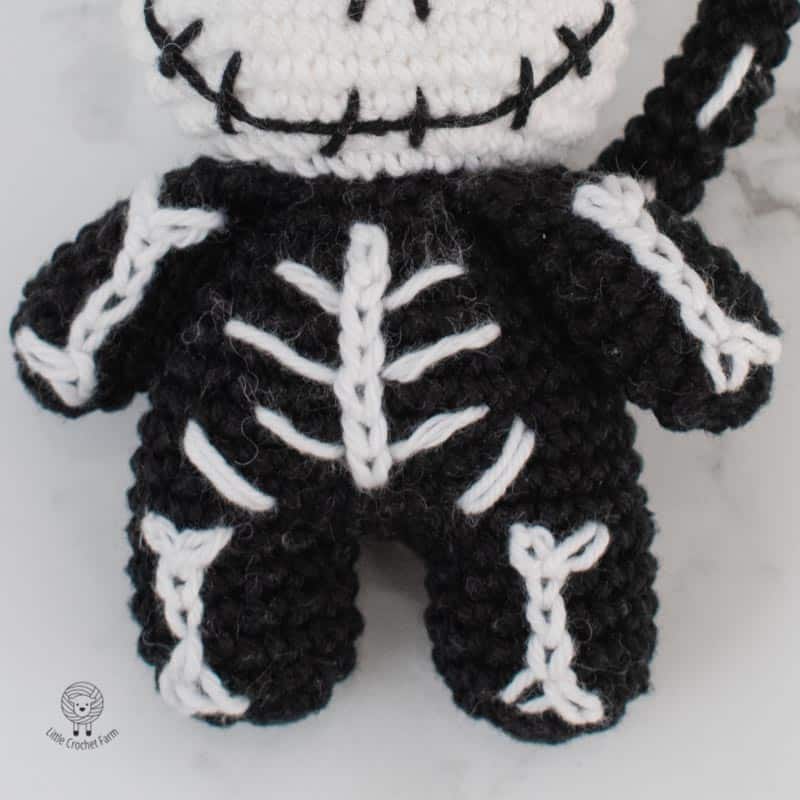
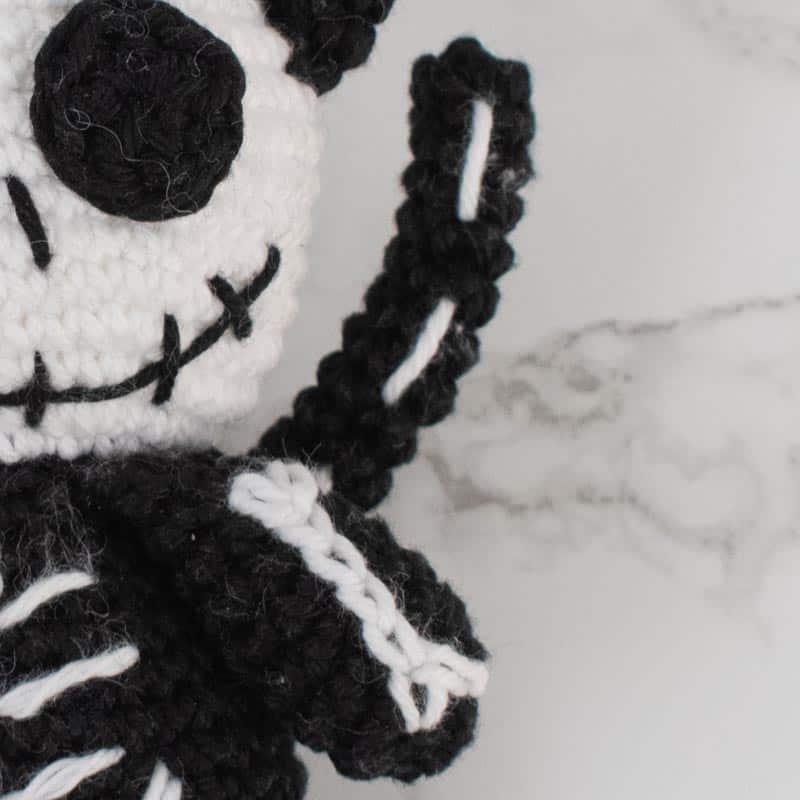
- With white thread, start embroidering the bones following:
•Two lines in the ear.
•Straight lines in the tail.
•Chain stitches in the arms, with a bone shape.
•Chain stitches in the legs, same as you did in the arms.
•Make one straight line of chain stitches in the center of its chest.
•Make three diagonal lines on each side of the chain stitch you just embroider in the center of the chest.
•Two lines on diagonal between the leg and the body.
Tip: see the images below for reference
Congratulations!!!
Your Skeleton Cat amigurumi toy is ready!
I hope you enjoy this pattern, and if you have any questions or comments in general, leave them in the comment box below.
If this Halloween Skeleton Cat crochet pattern was clear and useful to you, consider subscribing to my YouTube channel. I schedule to add every week a new free pattern and a new stitch tutorial to help you learn a bit more of this crochet toys world!
I also will share here my Ravelry shop where you can find a bit more advanced crochet patterns. And, on Ravelry, there is available a low-cost printable version of these free patterns you can see here.
See you next time!
Love,
Ana
You may also like: