Hello there! My name is Ana! Welcome to Little crochet farm.
Here, I share my crochet creations around nursery decor, amigurumi and crochet toys for babies! Crochet tutorials, lessons, paid and free patterns you can find it all here!
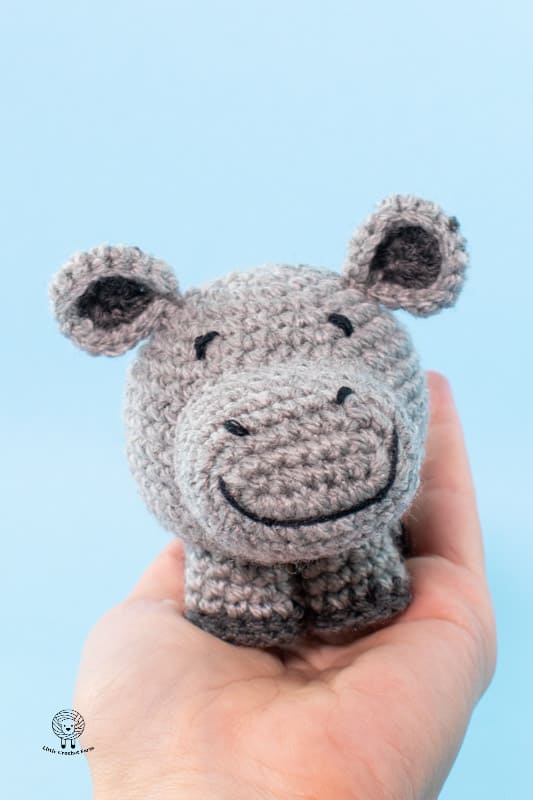
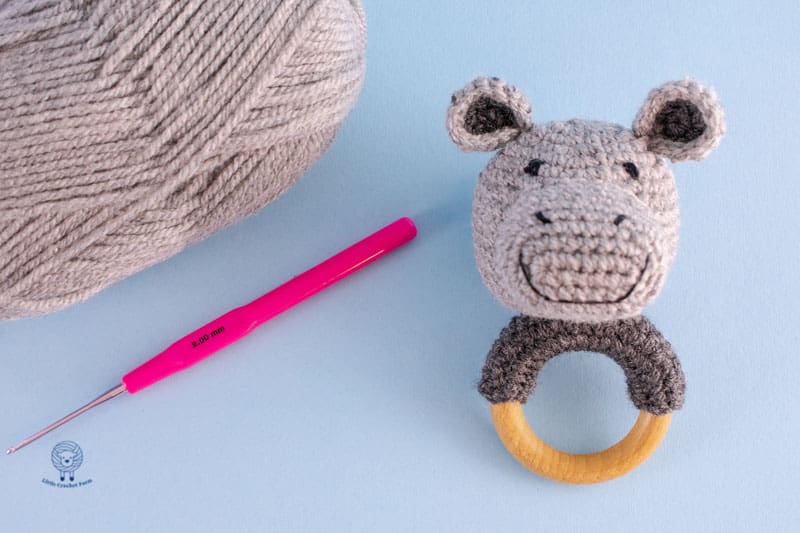
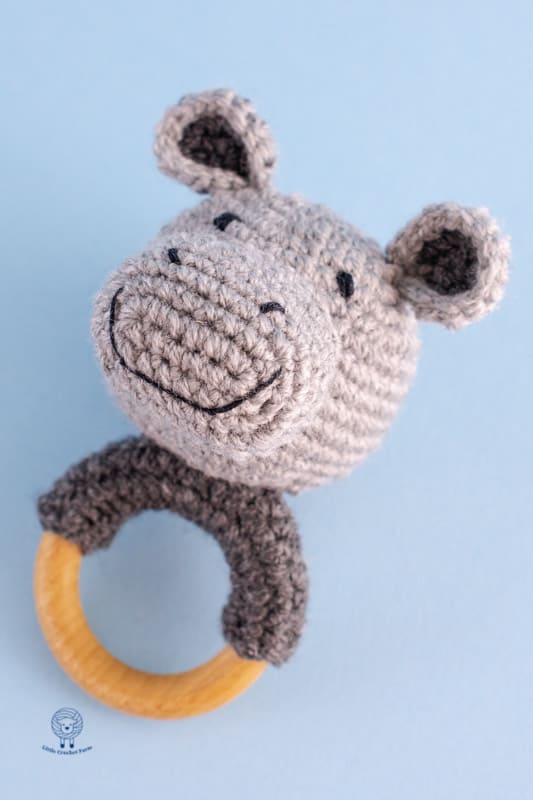
In this blog post, I share this super happy Hippo amigurumi teether crochet pattern. It is a simple pattern for a newborn crochet toy , suitable for amigurumi beginners and, is fast to crochet! So if you are looking for a fast crochet project for a baby shower gift, this is the right one for you!
If you wish for an ad-free printable version of this pattern, you can find it here!
If you like video patterns, check out other options on my YouTube channel. There are a couple of crochet toys and stitch tutorials for amigurumi. I am updating every week with new creations there! Subscribe and leave me a thumbs up! It would make me super happy!
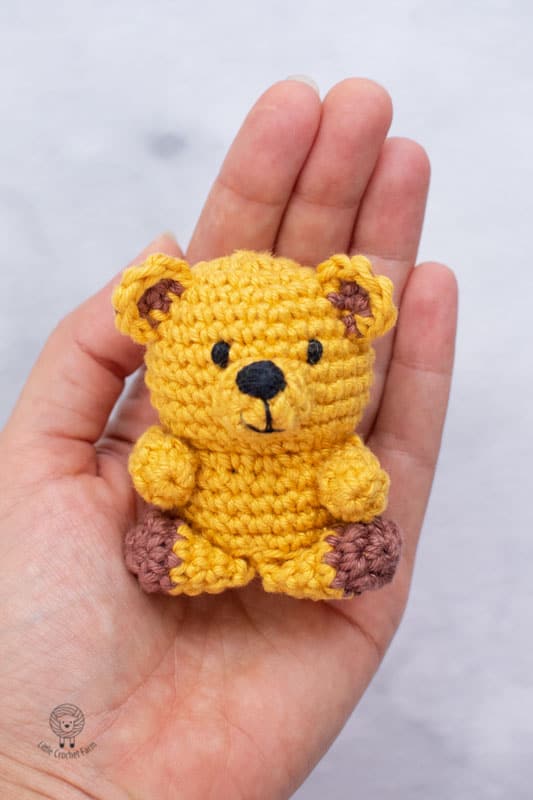
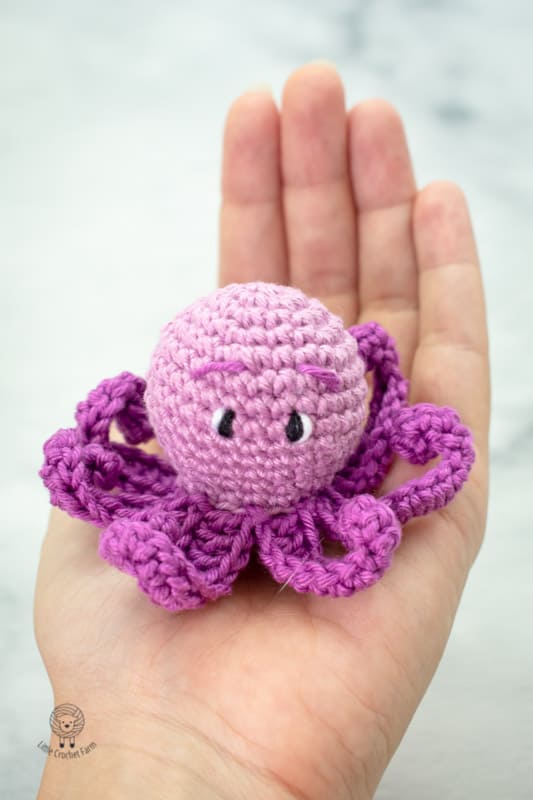
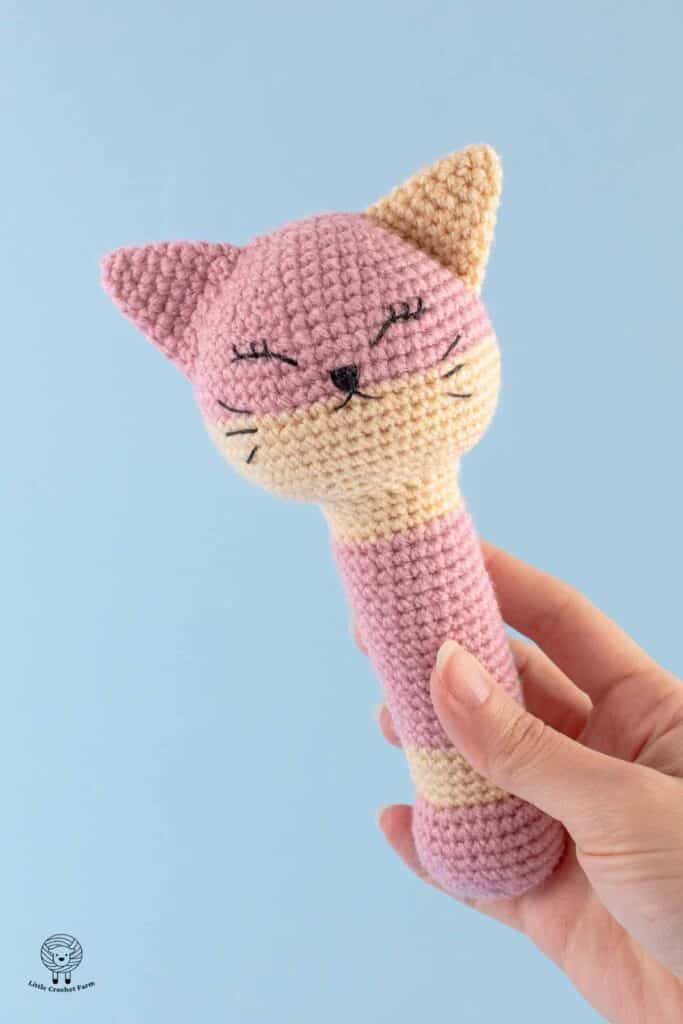
Take a look at other amigurumis you may like!
Before we start, I leave a link to all the stitches tutorial I used to complete this pattern. If you are a complete beginner or not familiar with some technique, there is a blog post with step-by-step images with descriptions and video tutorials.
Pin it for later!!!
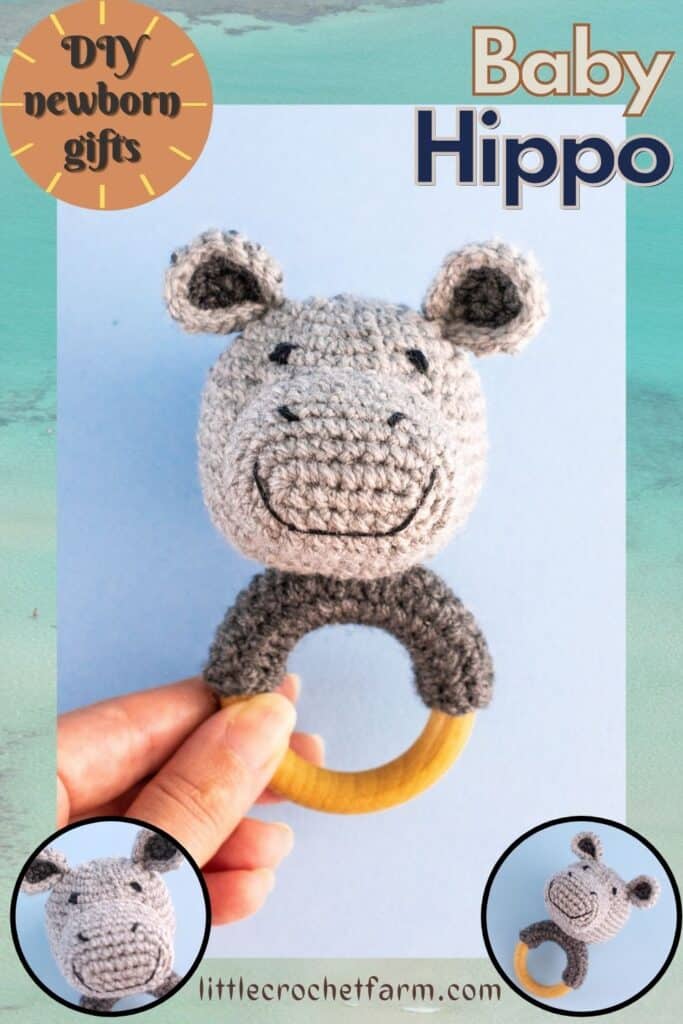
Happy Hippo teething ring free amigurumi pattern
Materials:
- 2mm crochet hook
- Light worsted (or DK) yarn color of you preference (I used 100% acrylic for this pattern)
- Stuffing material
- Scissors
- Embroidering needle for the eyes
- If you want, you can add a rattle noise of your choice.
- Wooden ring (I use a 5cm diameter for this pattern, but you can use any size and adapt the blue cover part at the end. I will show you how!).
Finish size: 10cm
For a low cost, ad-free and printable pattern, you can find it here!
HEAD
With grey yarn start,
1 row 6sc in a magic ring
2 row 6inc Total 12sts
3 row (1sc, 1inc) repeat 6 times Total 18sts
4 row (2sc, 1inc) repeat 6 times Total 24sts
5 row (3sc, 1inc) repeat 6 times Total 30sts
6 row (4sc, 1inc) repeat 6 times Total 36sts
7 row (5sc, 1inc) repeat 6 times Total 42sts
8 to 15 row 42sc
16 row (5sc, 1dec) repeat 6 times Total 36sts
17 row (4sc, 1dec) repeat 6 times Total 30sts
18 row (3sc, 1dec) repeat 6 times Total 24sts
19 row (2sc, 1dec) repeat 6 times Total 18sts
• Stop here to add stuffing material before continuing to row 20.
20 row (1sc, 1dec) repeat 6 times Total 12sts
• Cut the yarn, fasten off and hide the remaining tail inside the toy.
EARS
With dark gray yarn start,
1 row 6sc in a magic ring
2 row 6inc Total 12sts
• Change to light gray,
3 row (1sc, 1inc) repeat 6 times Total 18sts
• Cut the yarn, fasten off and leave a tail for sewing.
• Make two following the same instructions.
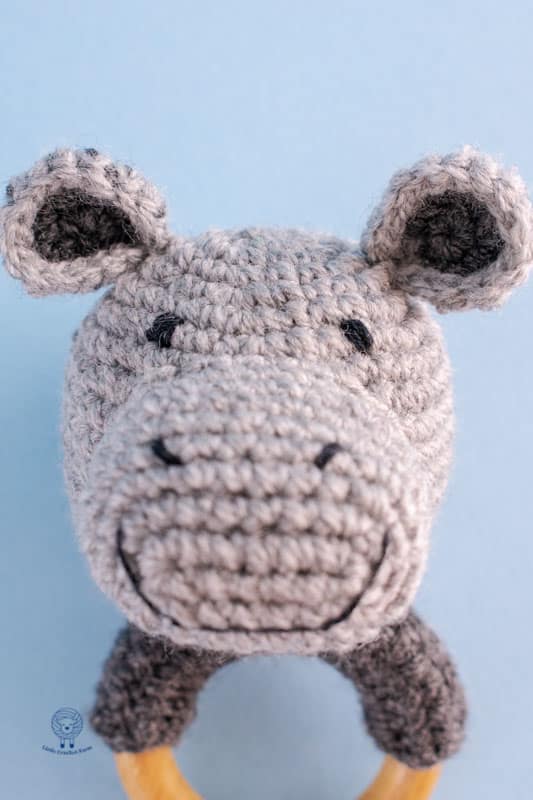
MOUTH
With light gray yarn chain 7 and start, Chain 7
1 row (5sc, 4sc in the last chain, 4sc, 3sc in the last chain) Total 16sc
2 row (1inc, 5sc, 1inc, 1sc) repeat 2 times Total 20sts
3 row (1inc, 6sc, 1inc, 2sc) repeat 2 times Total 24sts
4 row 1sc, 1inc, 7sc, 1inc, 3sc, 1inc, 7sc, 1inc, 2sc Total 28sts
5 to 7 row 28sc
8 row 1sc, 1dec, 7sc, 1dec, 3sc, 1dec, 7sc, 1dec, 2sc Total 24sts
• Cut the yarn and fasten off.
• Leave a tail for sewing
Wood cover
With dark gray color yarn chain 21, skip the first chain and start
1 to 6 row 20sc, chain one and turn.
• Cut the yarn, fasten off and leave a tail for sewing.
NOTE: if the wooden ring you are working is bigger in length, add more chains into the detail. If the wooden ring is thicker, add more rows!
Sew it around the wooden ring, 20 stitches from one side, with 20 stitches from the other side.
ASSEMBLY
- Sew the ears between rows 5 and 6.
- Embroider the eyes in row 6, leaving 6 stitches between each other.
- Start sewing the mouth between rows 8 and 9, and finishing between rows 14 and 15.
- For the nose lines, embroider two lines in the 4th row of the mouth, leaving 4 stitches between them.
- Finish by embroidering the mouth between rows 1 and 2 of the detail!
- Now, use the remaining tail from the wooden cover detail to sew the cat into the central part of the ring
Congratulations!!!
Your Happy Hippo wooden teether amigurumi baby toy ready!
I hope you enjoy this pattern, and if you have any questions or comments in general, leave them in the comment box below.
If this amigurumi teething ring crochet pattern was clear and useful to you, consider subscribing to my YouTube channel. I schedule to add every week a new free pattern and a new stitch tutorial to help you learn a bit more about this crochet toys world!
I also will share here my Ravelry shop where you can find a bit more advanced crochet patterns. And, on Ravelry, there is available a low-cost printable version of these free patterns you can see here.
See you next time!
Love,
Ana
You may also like:
